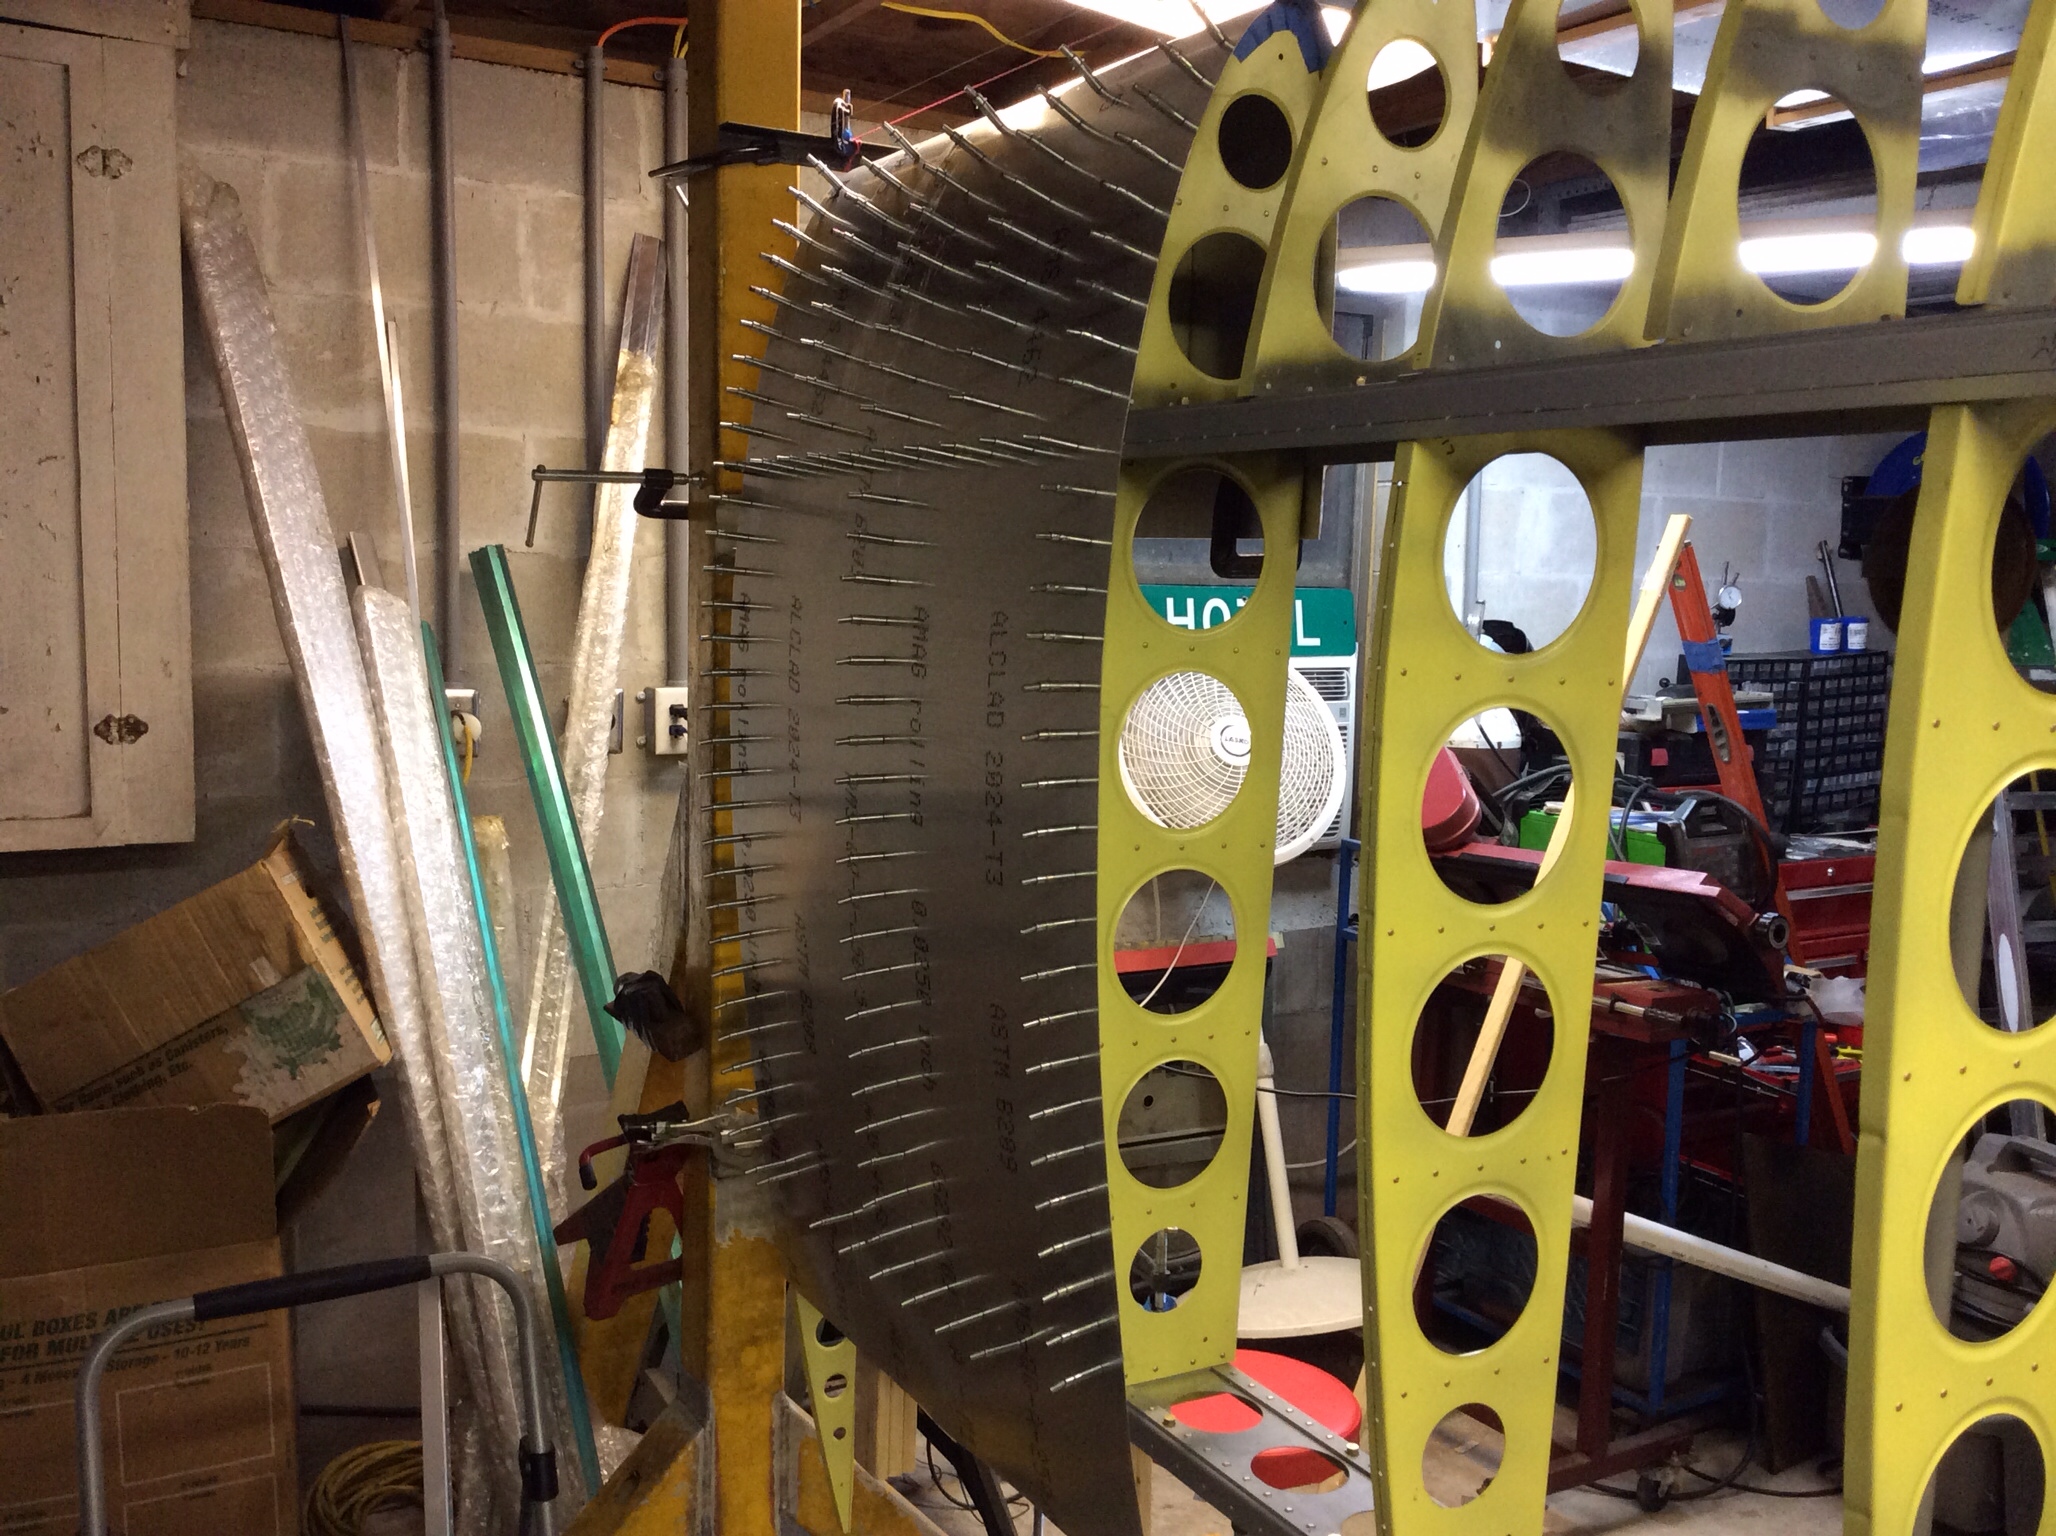
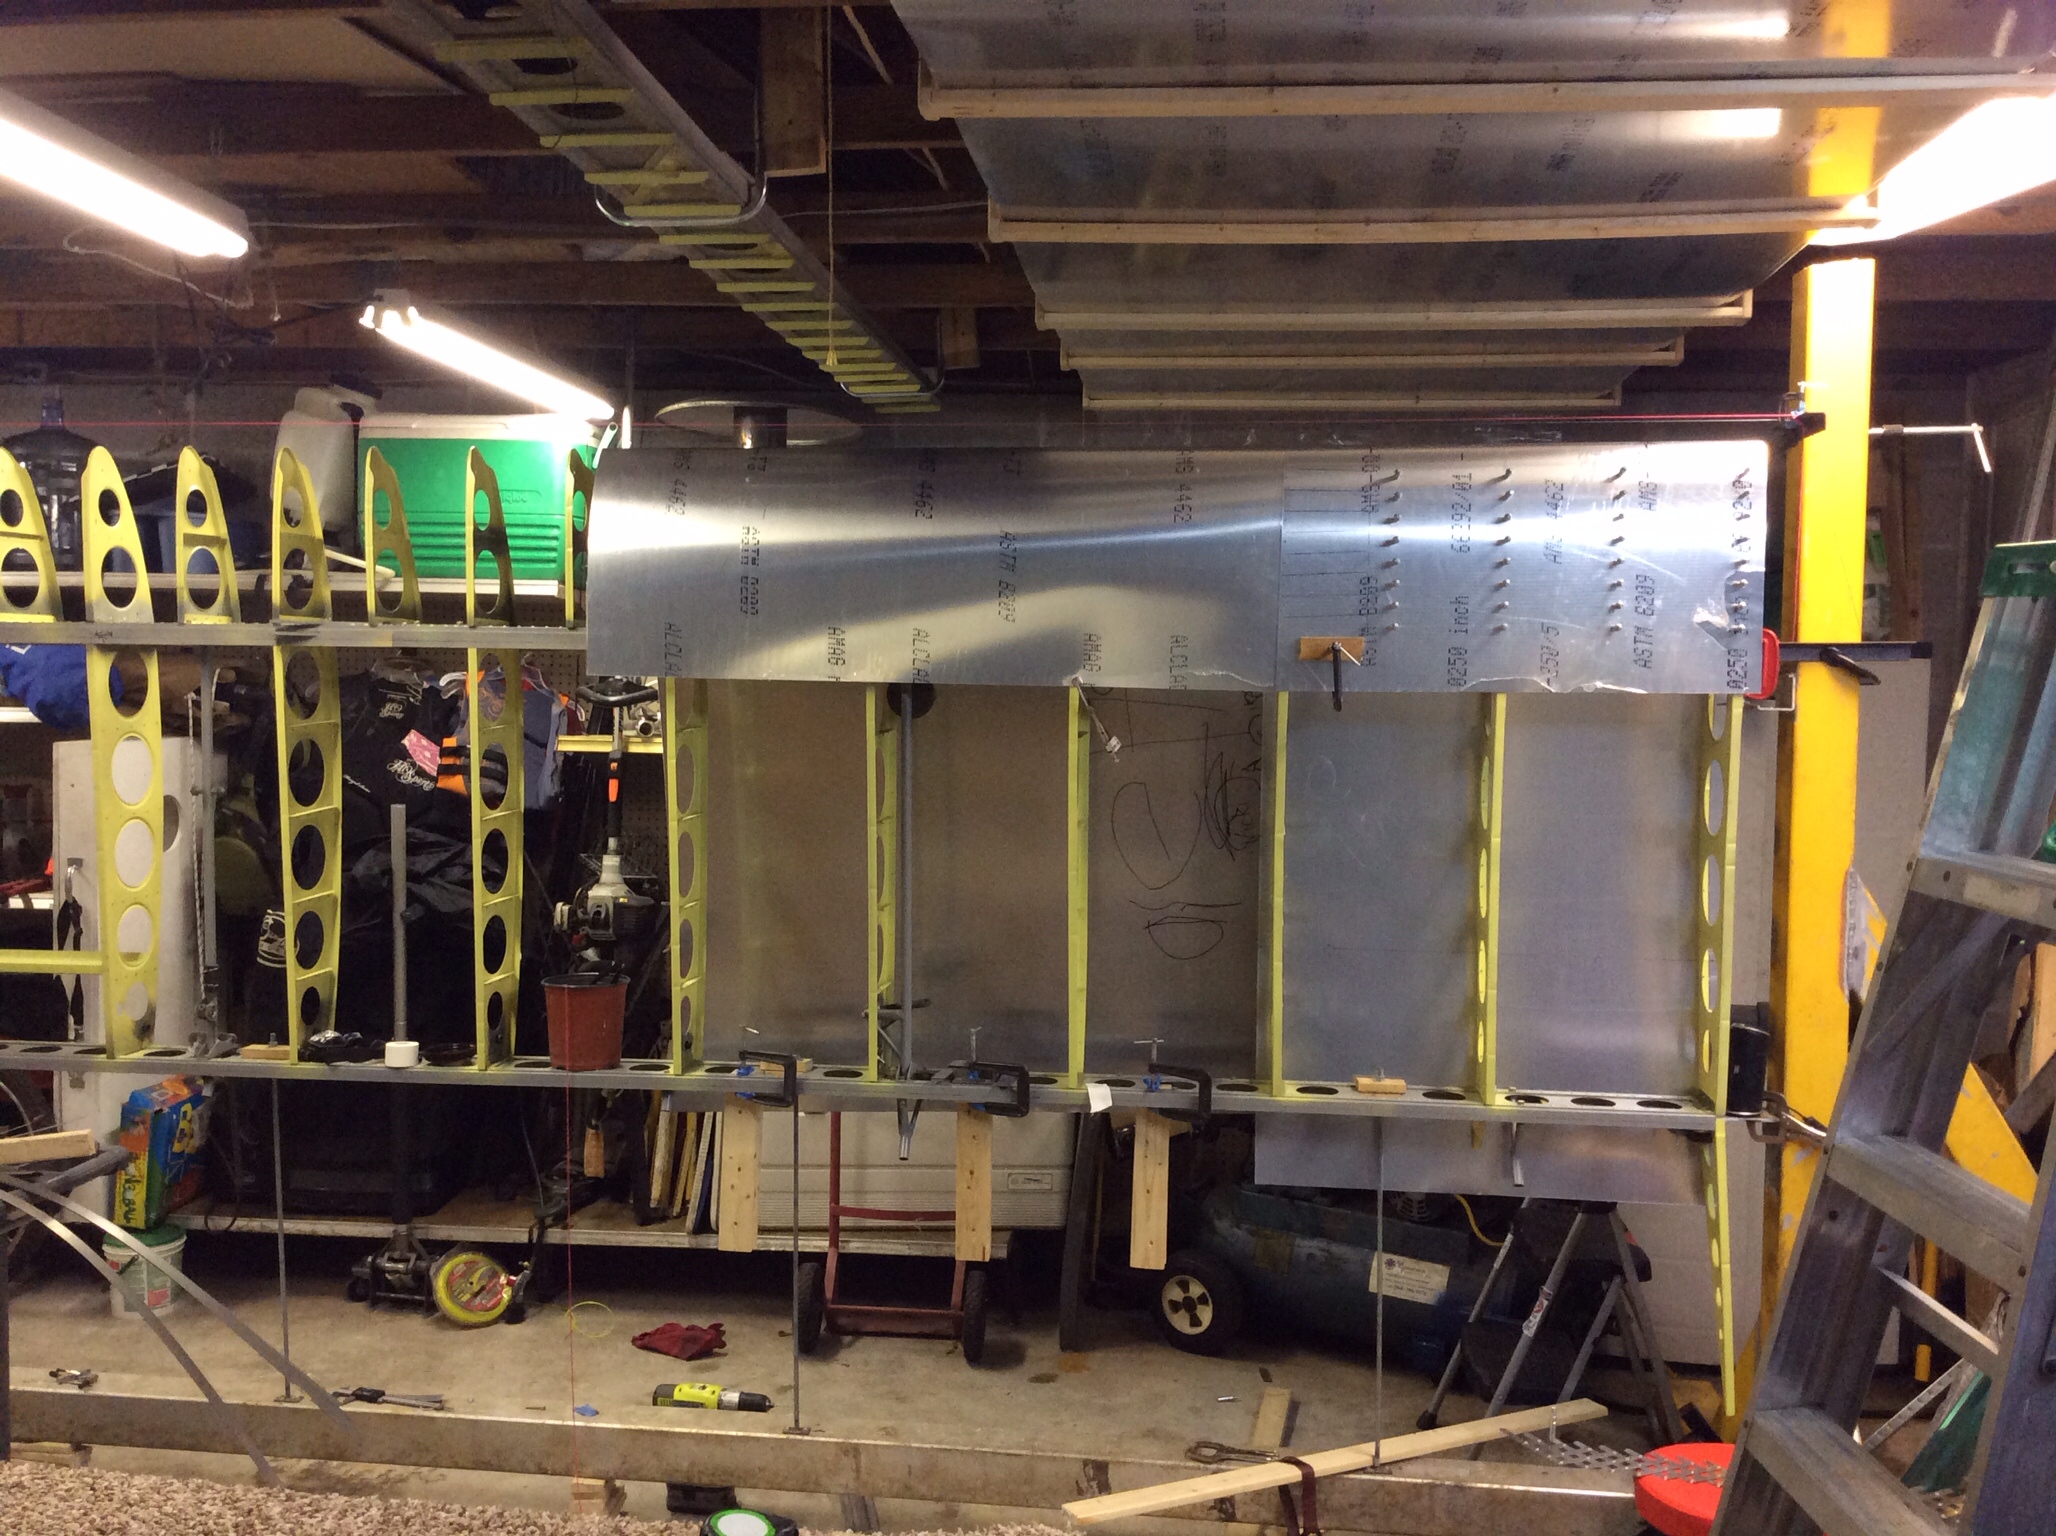
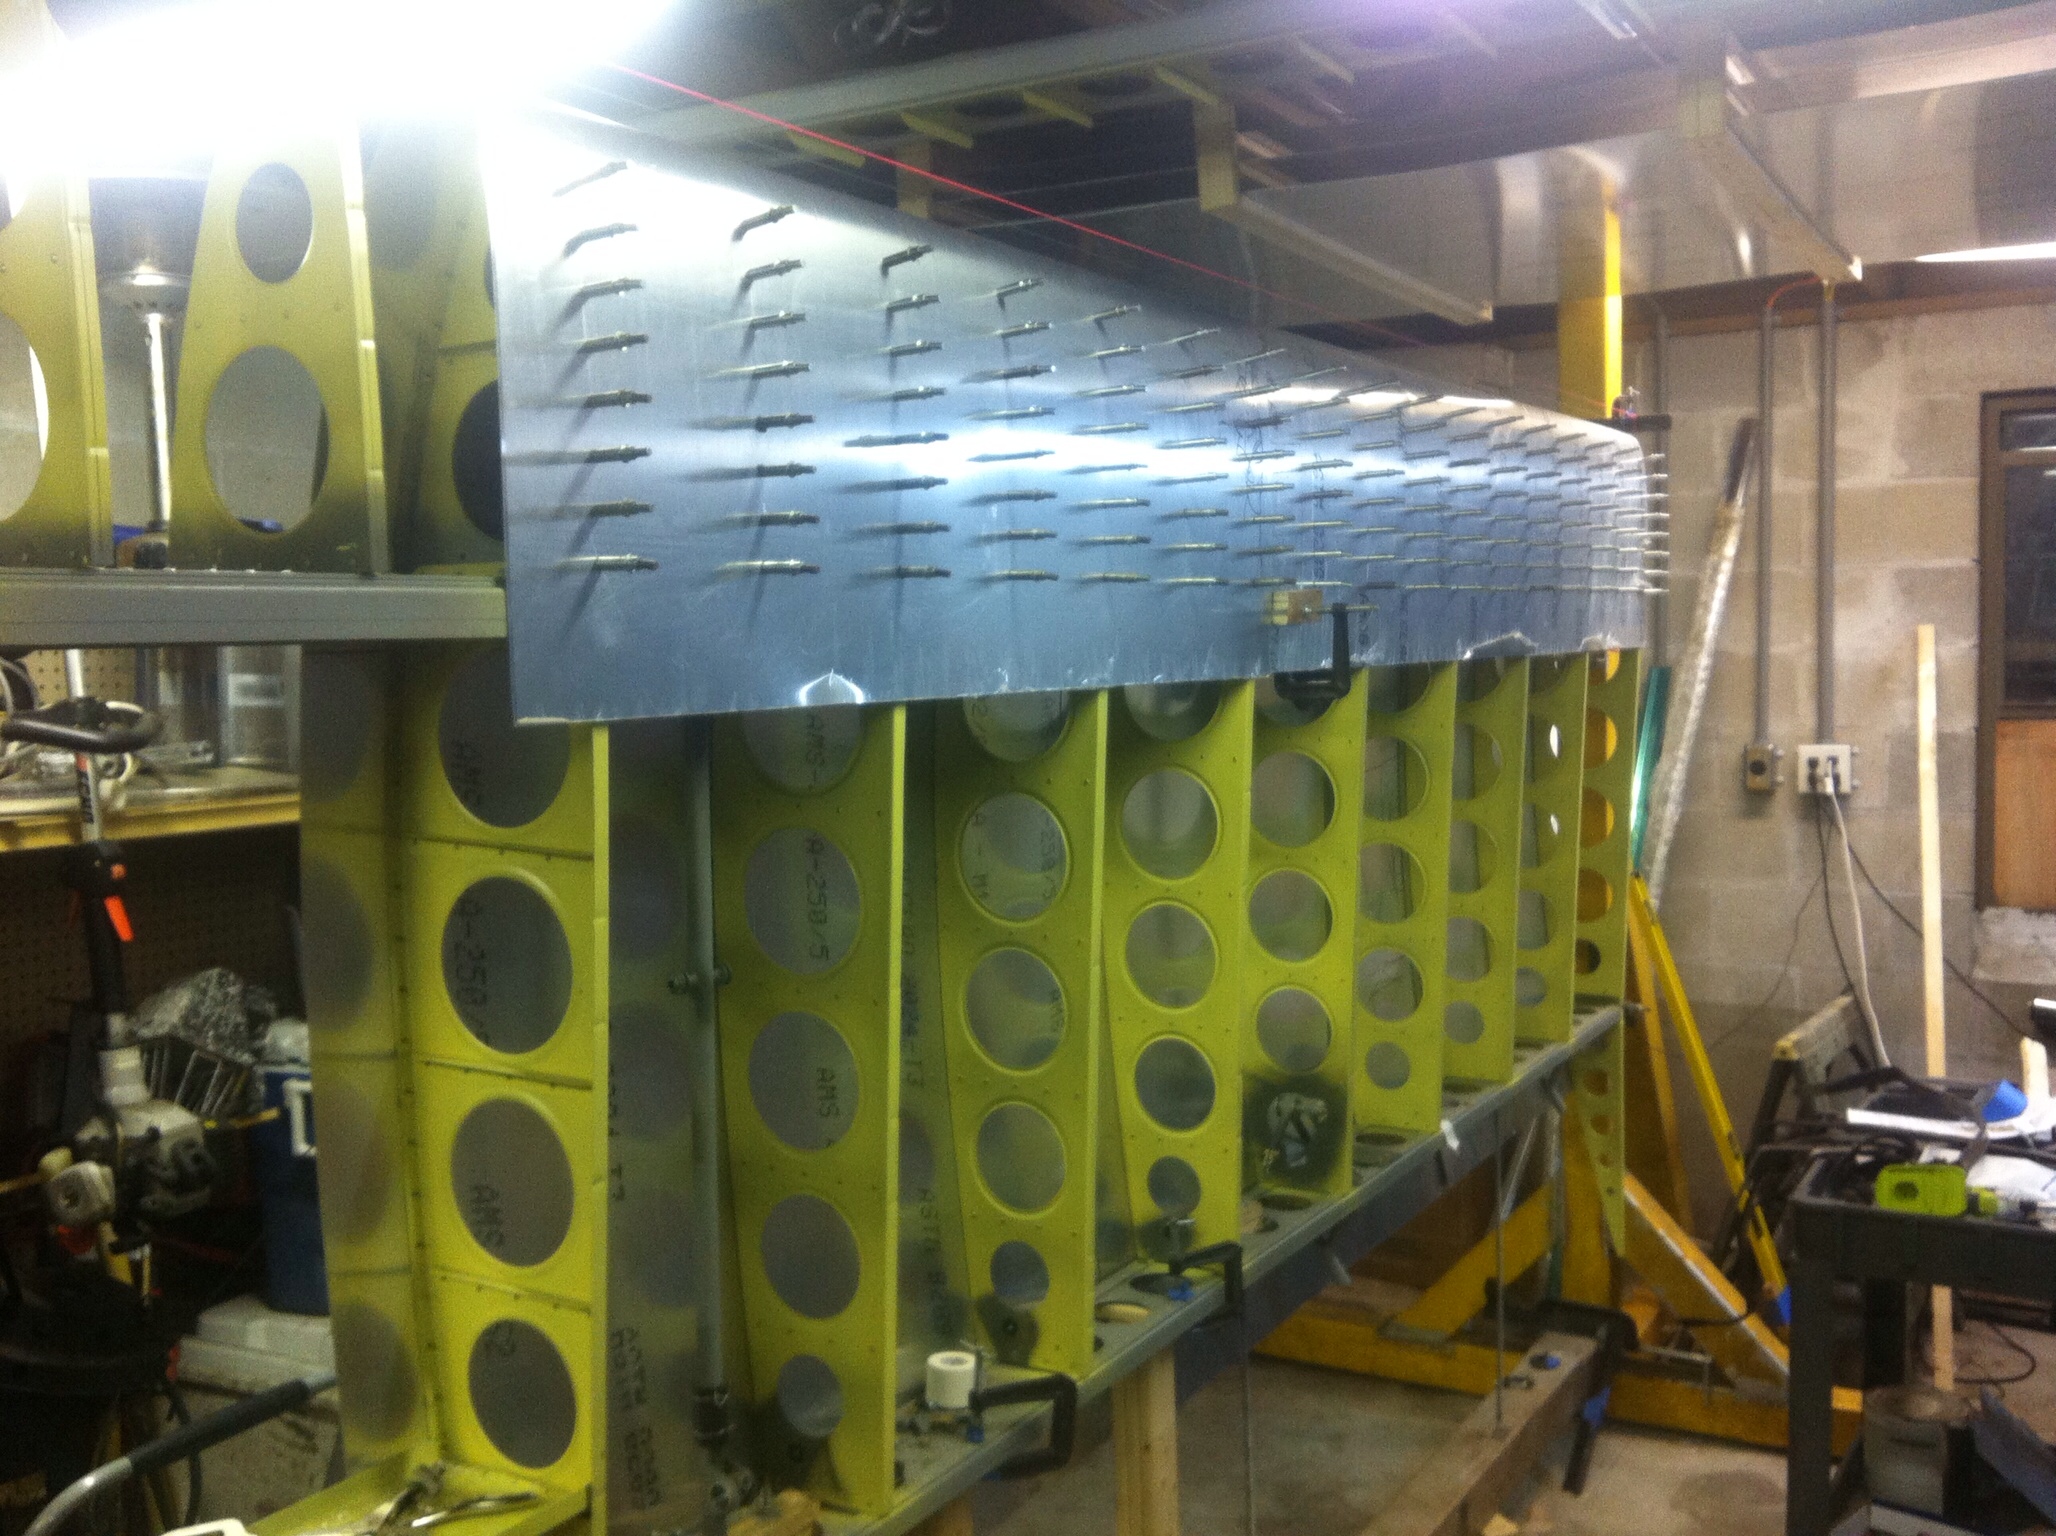
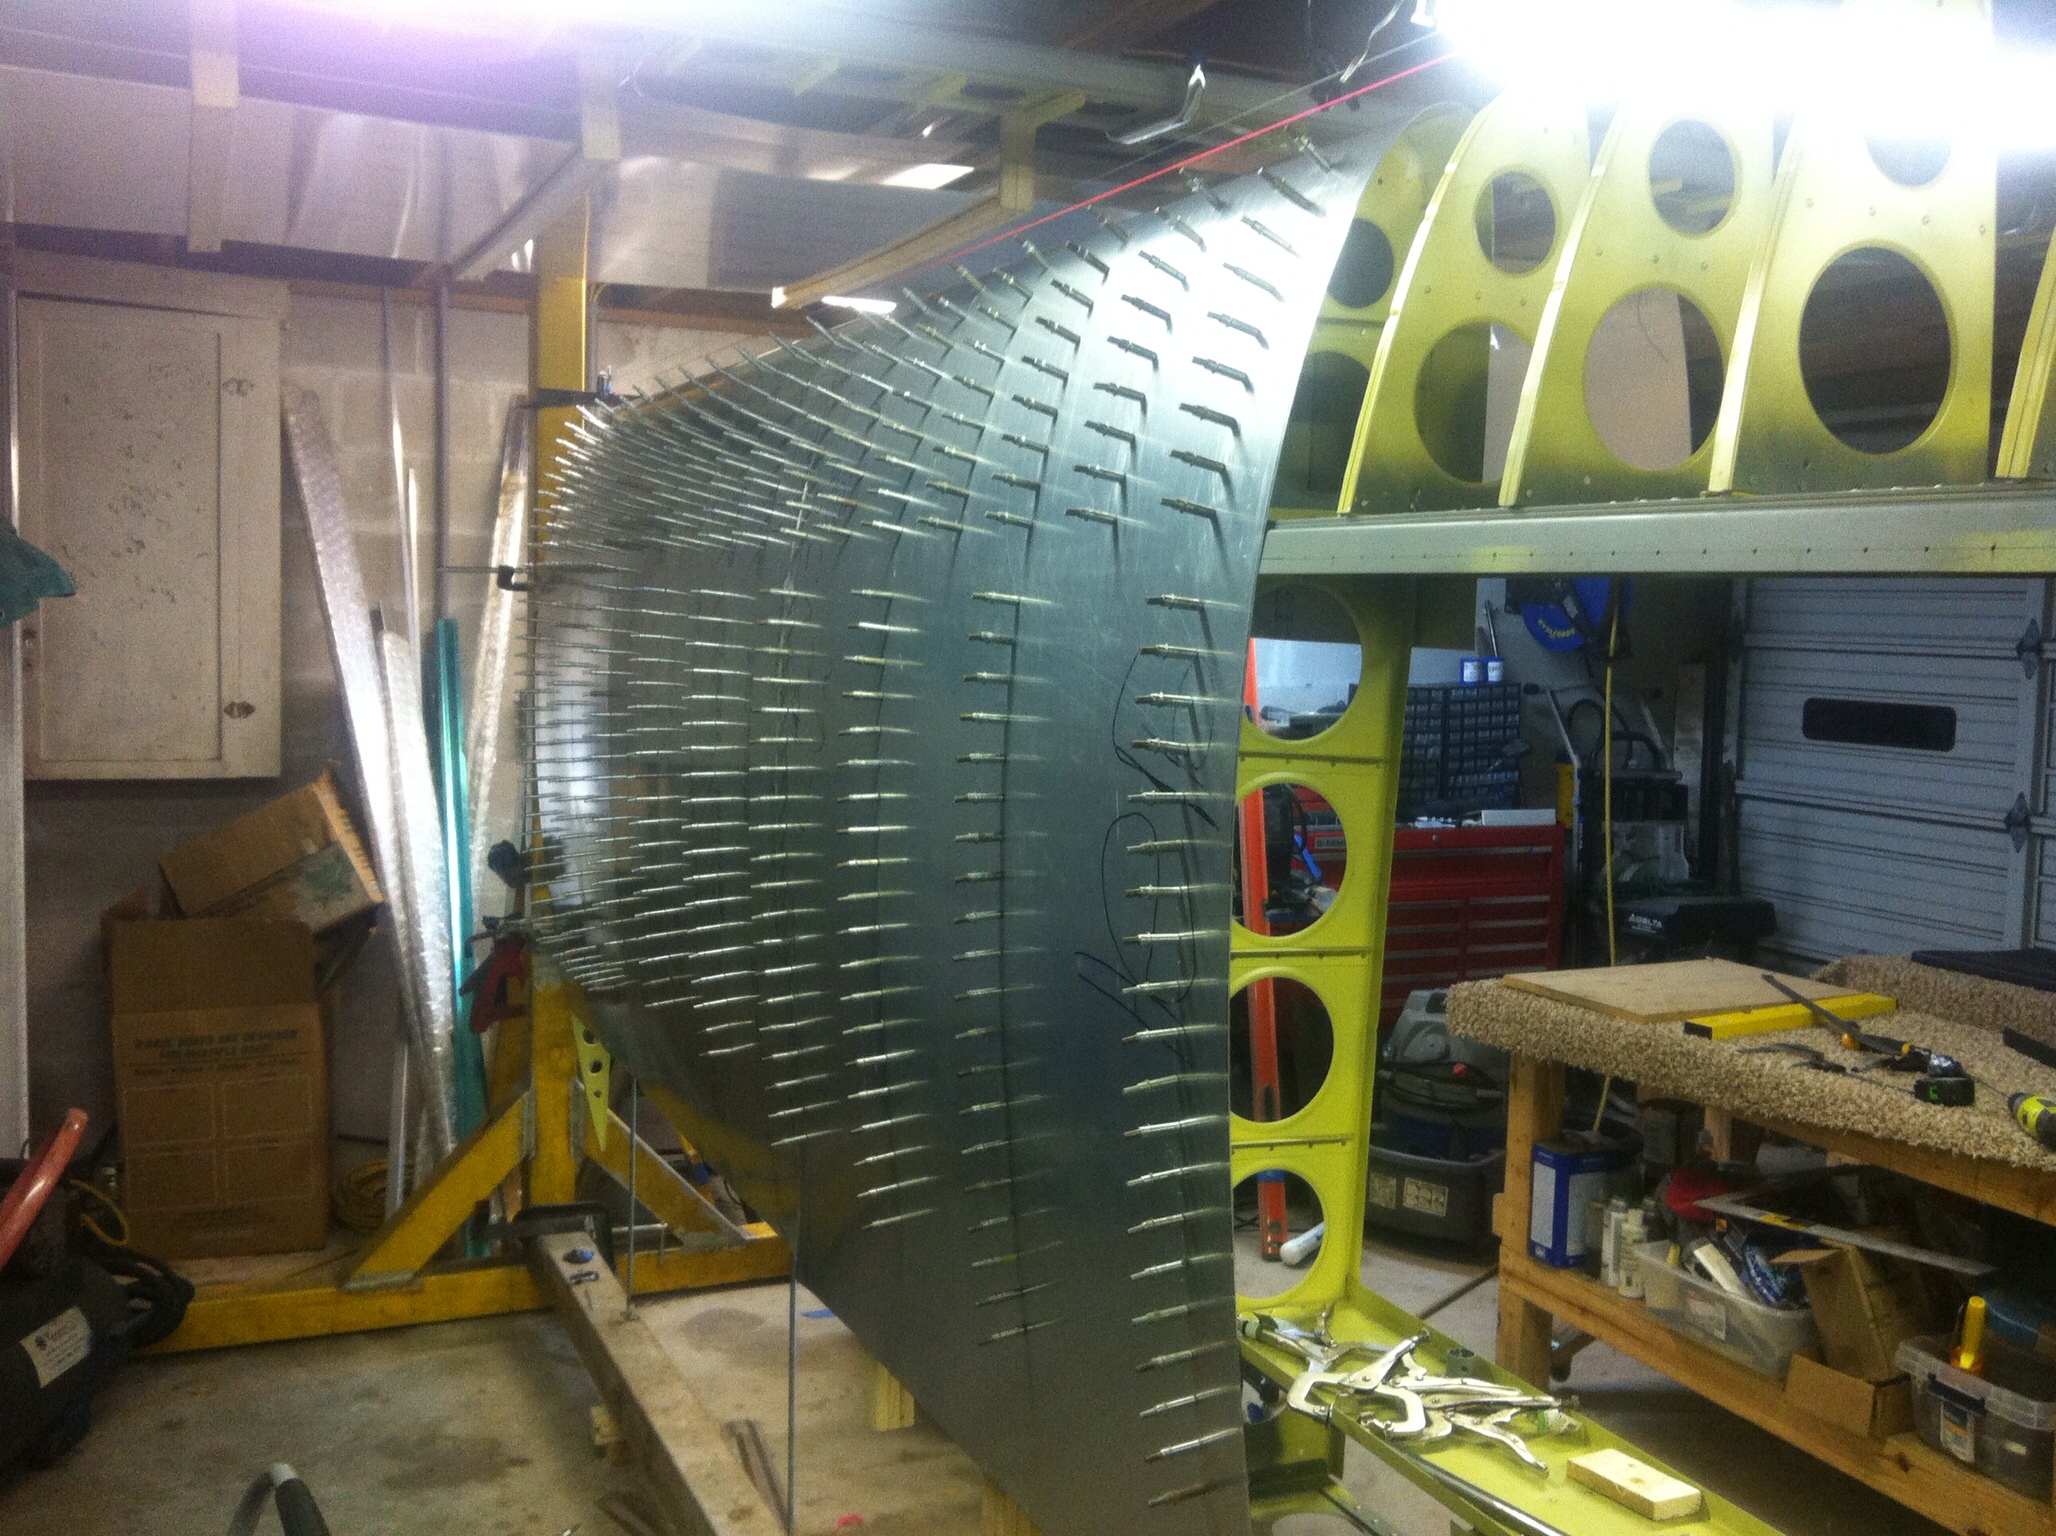
the last couple of weeks i have been skinning the left wing. I’ve deviated a bit from the plans and Eric’s builders manual method, but so far things have been working. All of the holes were first laid out on the top of the center ribs and spars (These were back drilled). Centerlines were marked on all of the ribs for use in laying out the holes with the rivet fan. The centerlines on the nose ribs were used to line the rib up in the pre drilled nose rib holes.
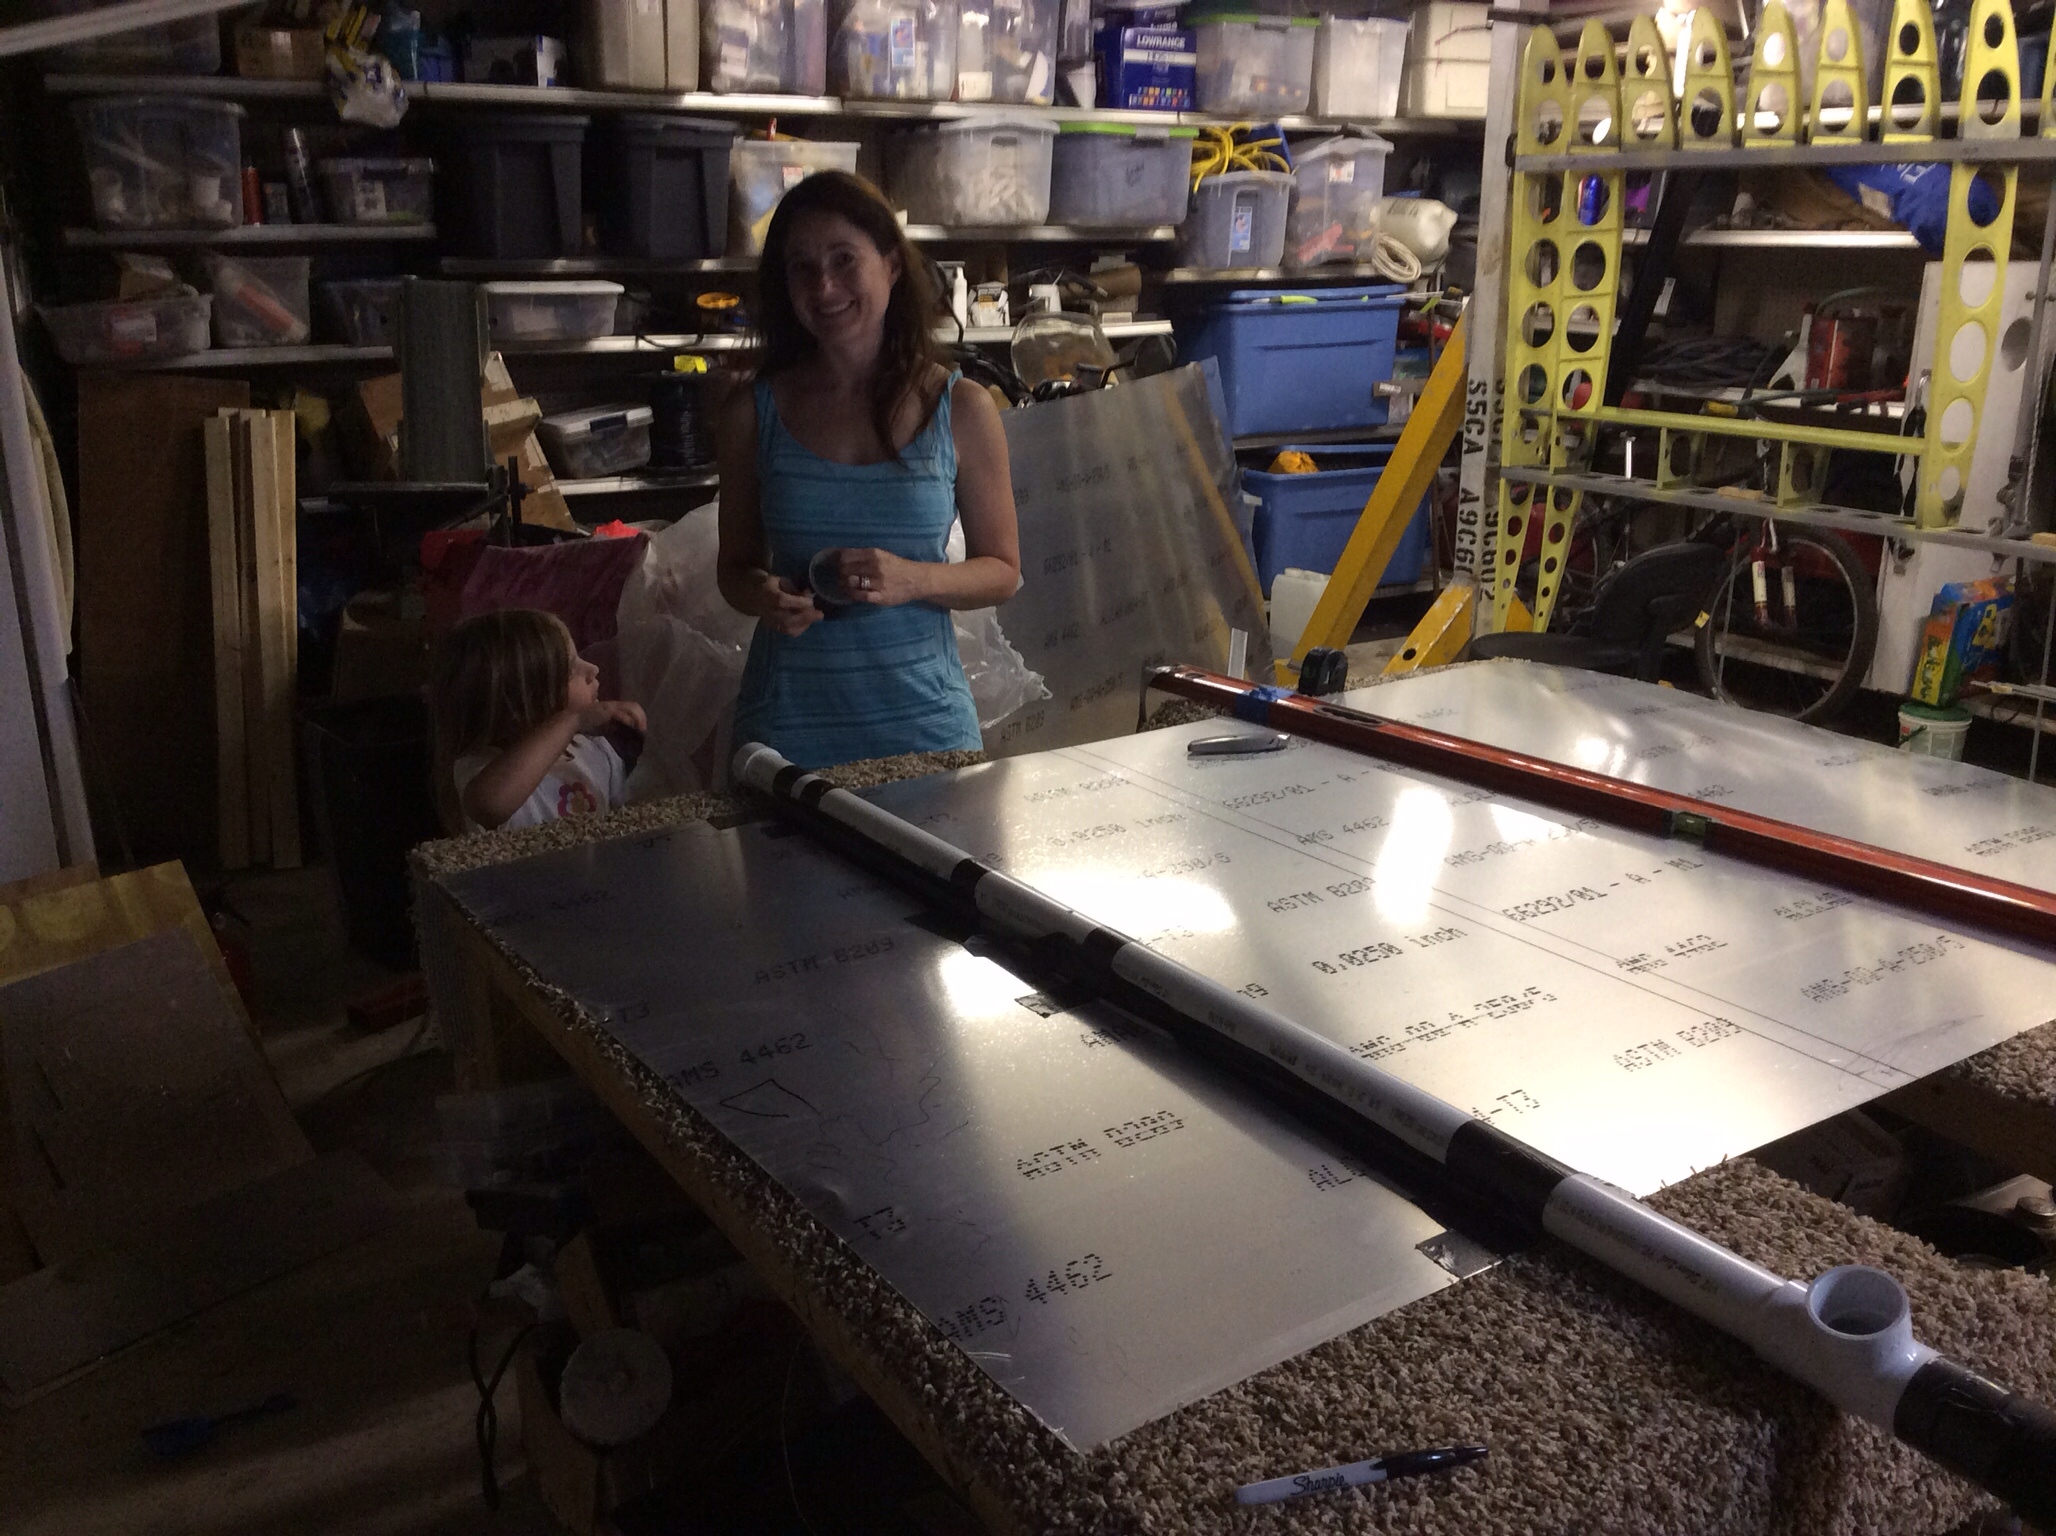
I used the shop vac method to form the leading edge bend around 1.5″ pvc……it worked well.
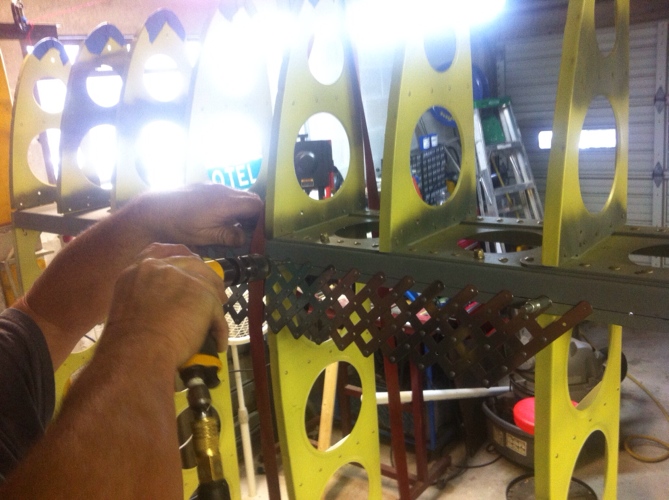
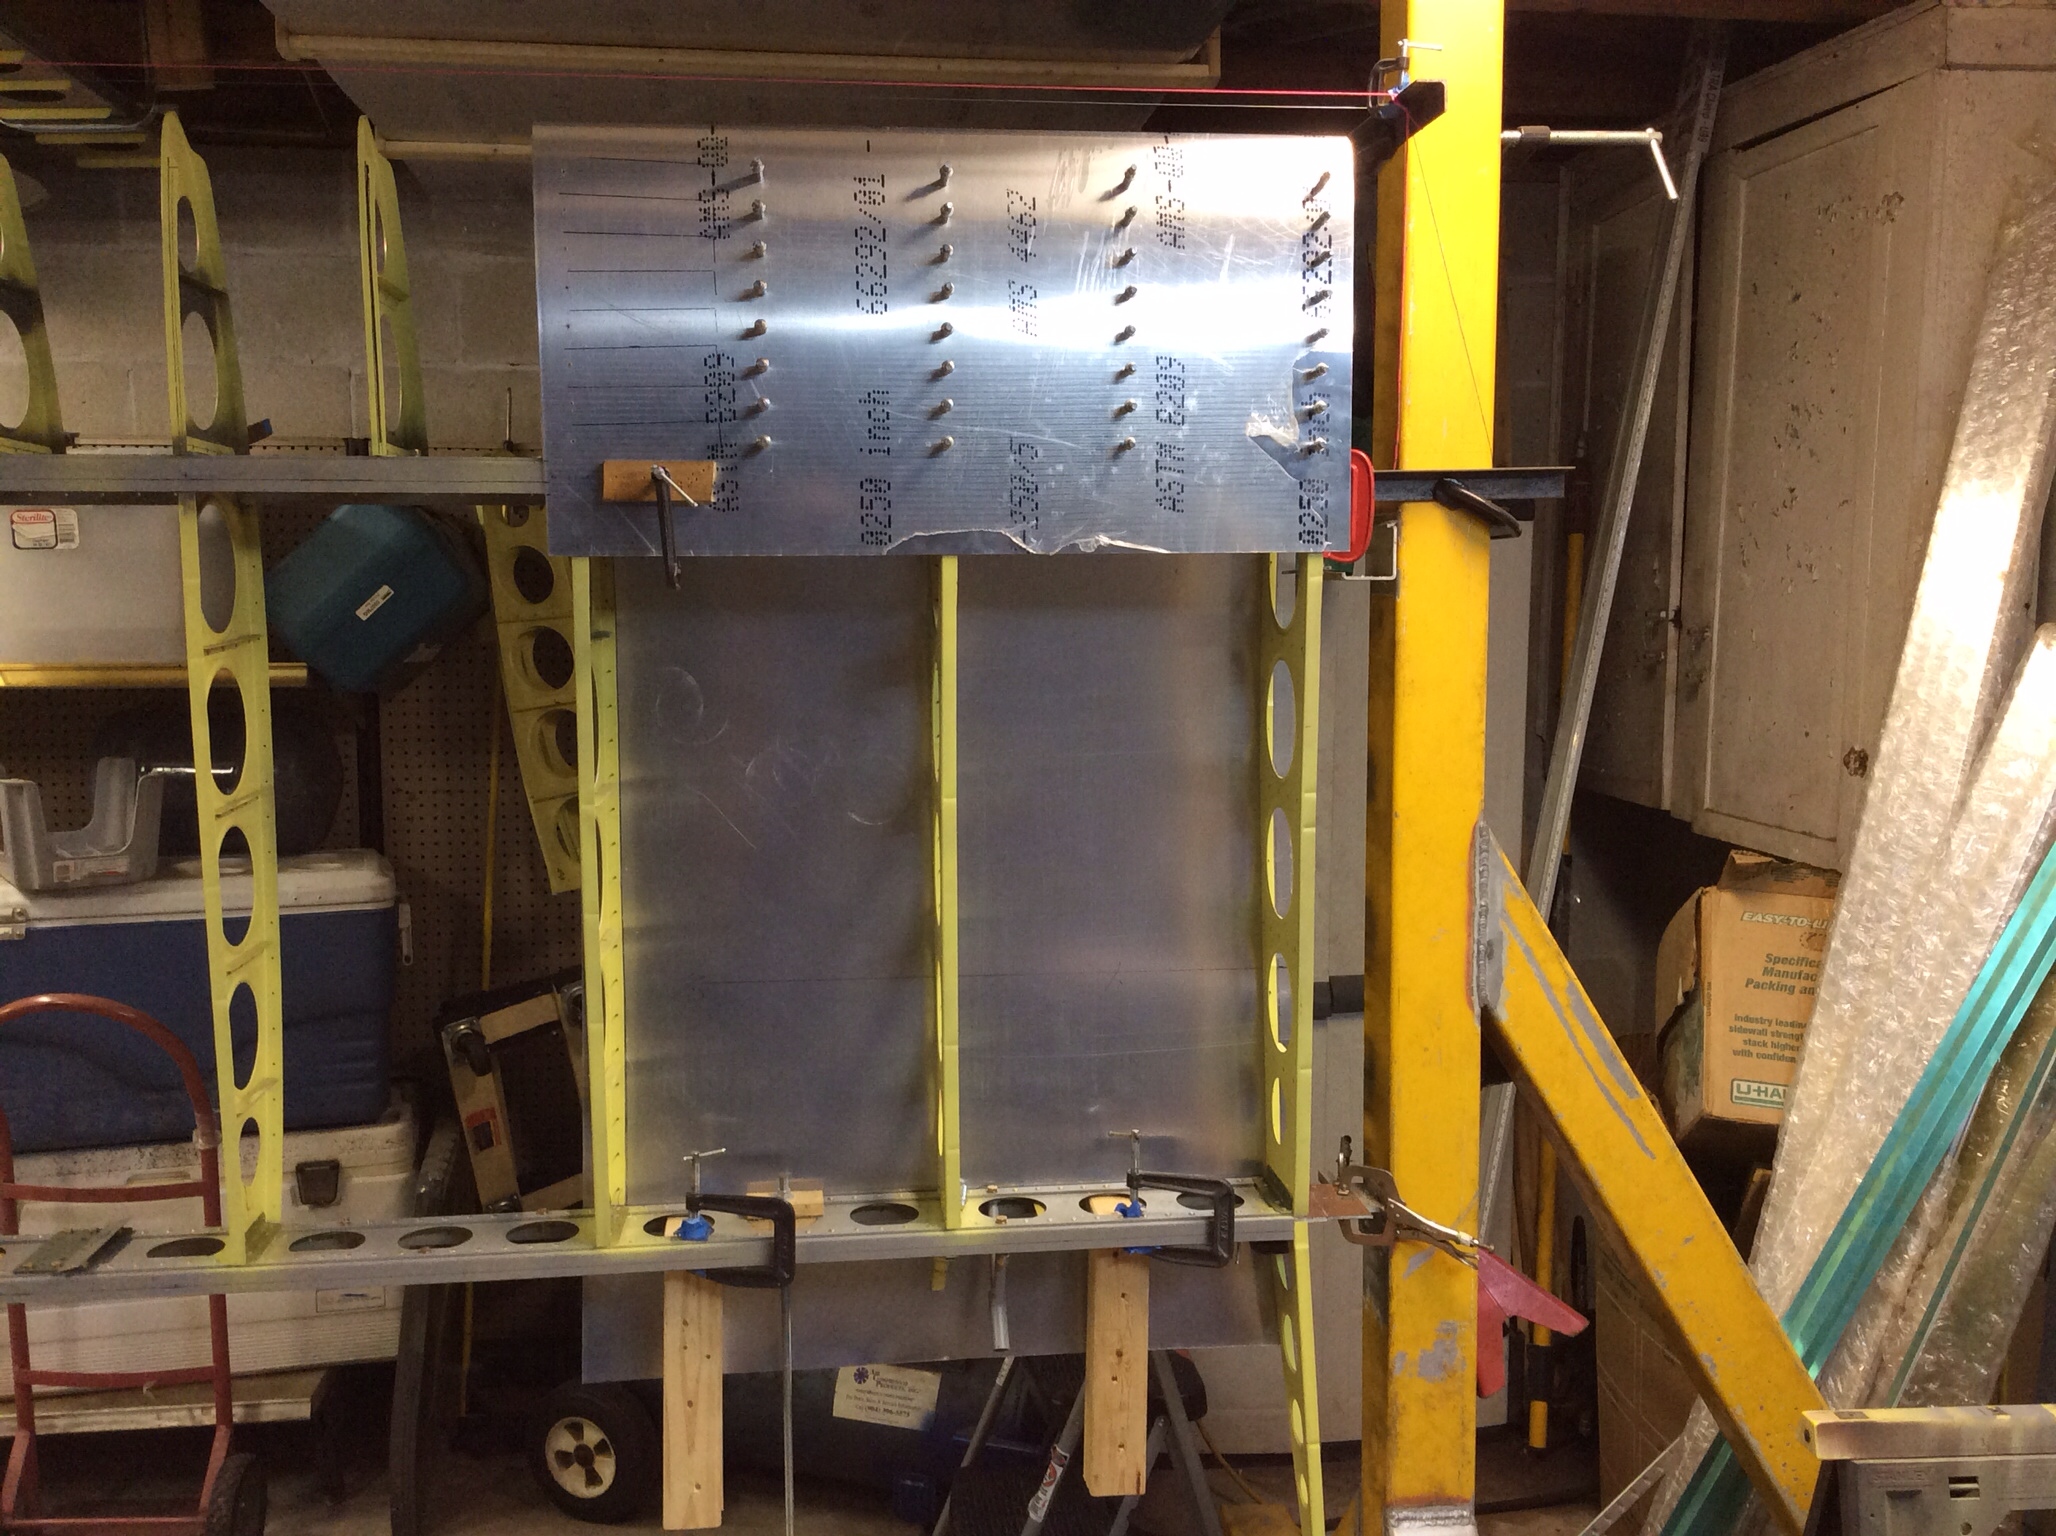
The panels were lined up and placed on the wing. ratchet straps were used to get things nice and tight, then a sharpie was used to mark the spars and nose ribs on the sheet. the panel was then removed and a carpenters square was used to lay out the rivet lines for the nose ribs square to the lower spar edge. I marked the first (lower) rivet hole based on distance from the lower spar edge then used a rivet fan to drill the holes down the line previously marked.
The drilled panel was then placed back on the wing, lined up and tightened with the ratchet straps. You don’t want too much pressure with the straps were you pull things out of alignment, but enough to get a nice tight fit. A 1×2 board was slipped under the straps and placed just below the rivet line to be drilled…..and worked down. I drilled a row across then moved the board down to the next row. This kept the skins nice and tight while drilling. It’s not too difficult to reach up through the spar lightening holes and line up the centerline marked on the rib with the holes drilled in the skin, but drilling from the top side of the wing is significantly easier with 2 people…..it’s a solid sheet of aluminum on that side. I recruited my neighbors and family to help. We used a small block of wood or the holder to prevent drilling any fingers.
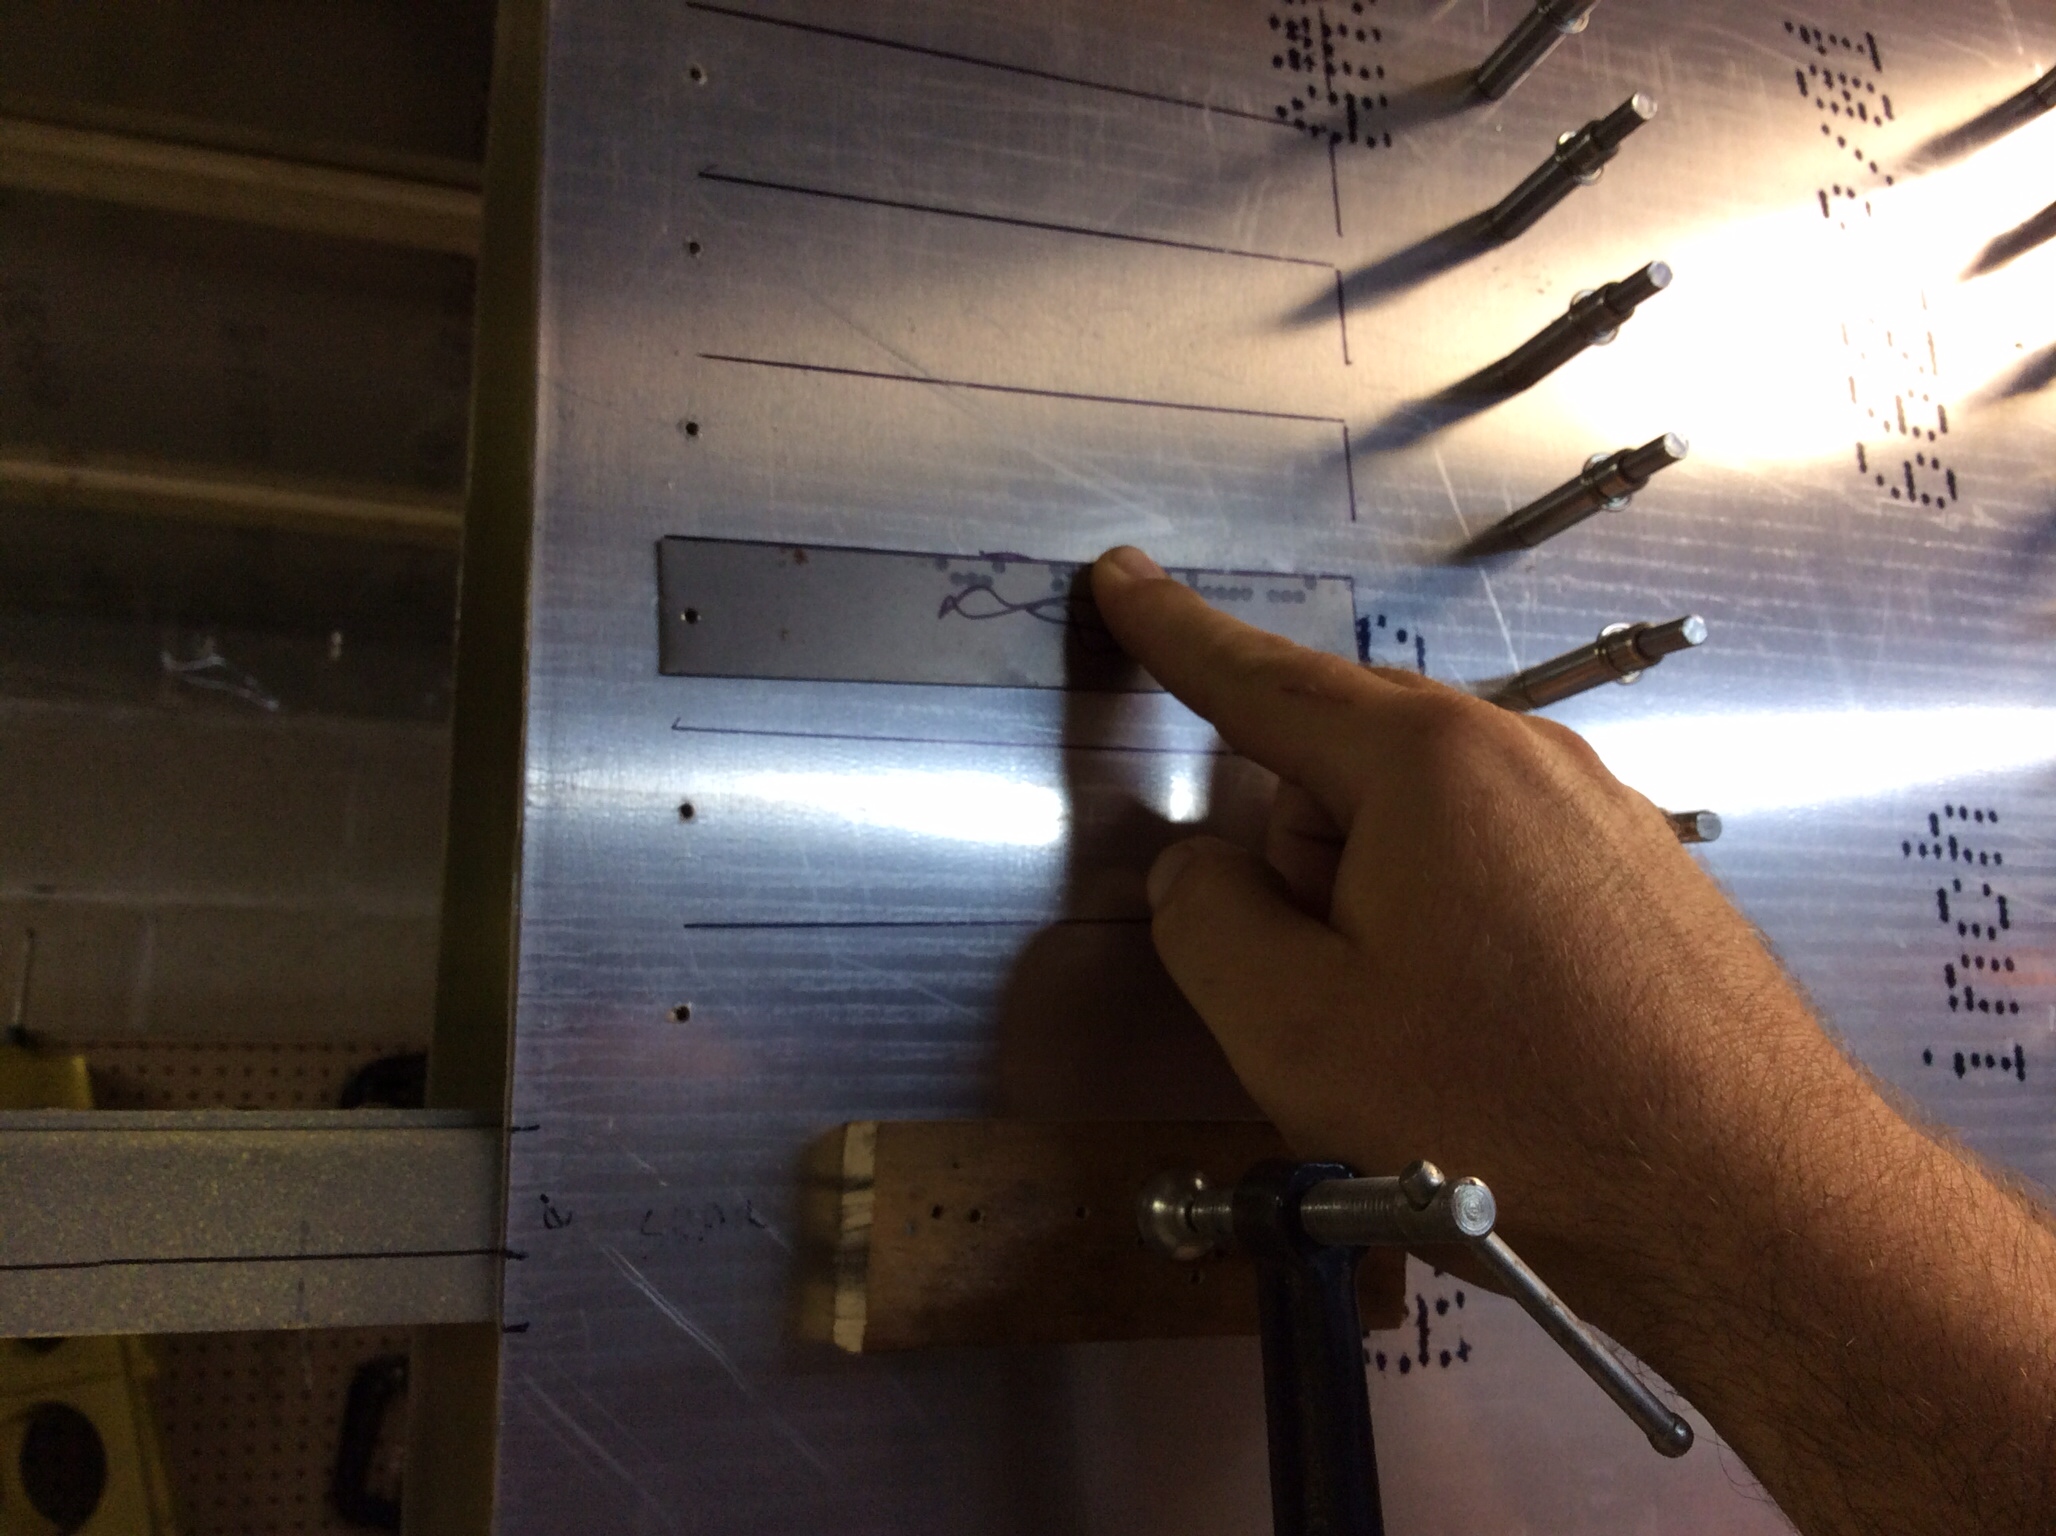
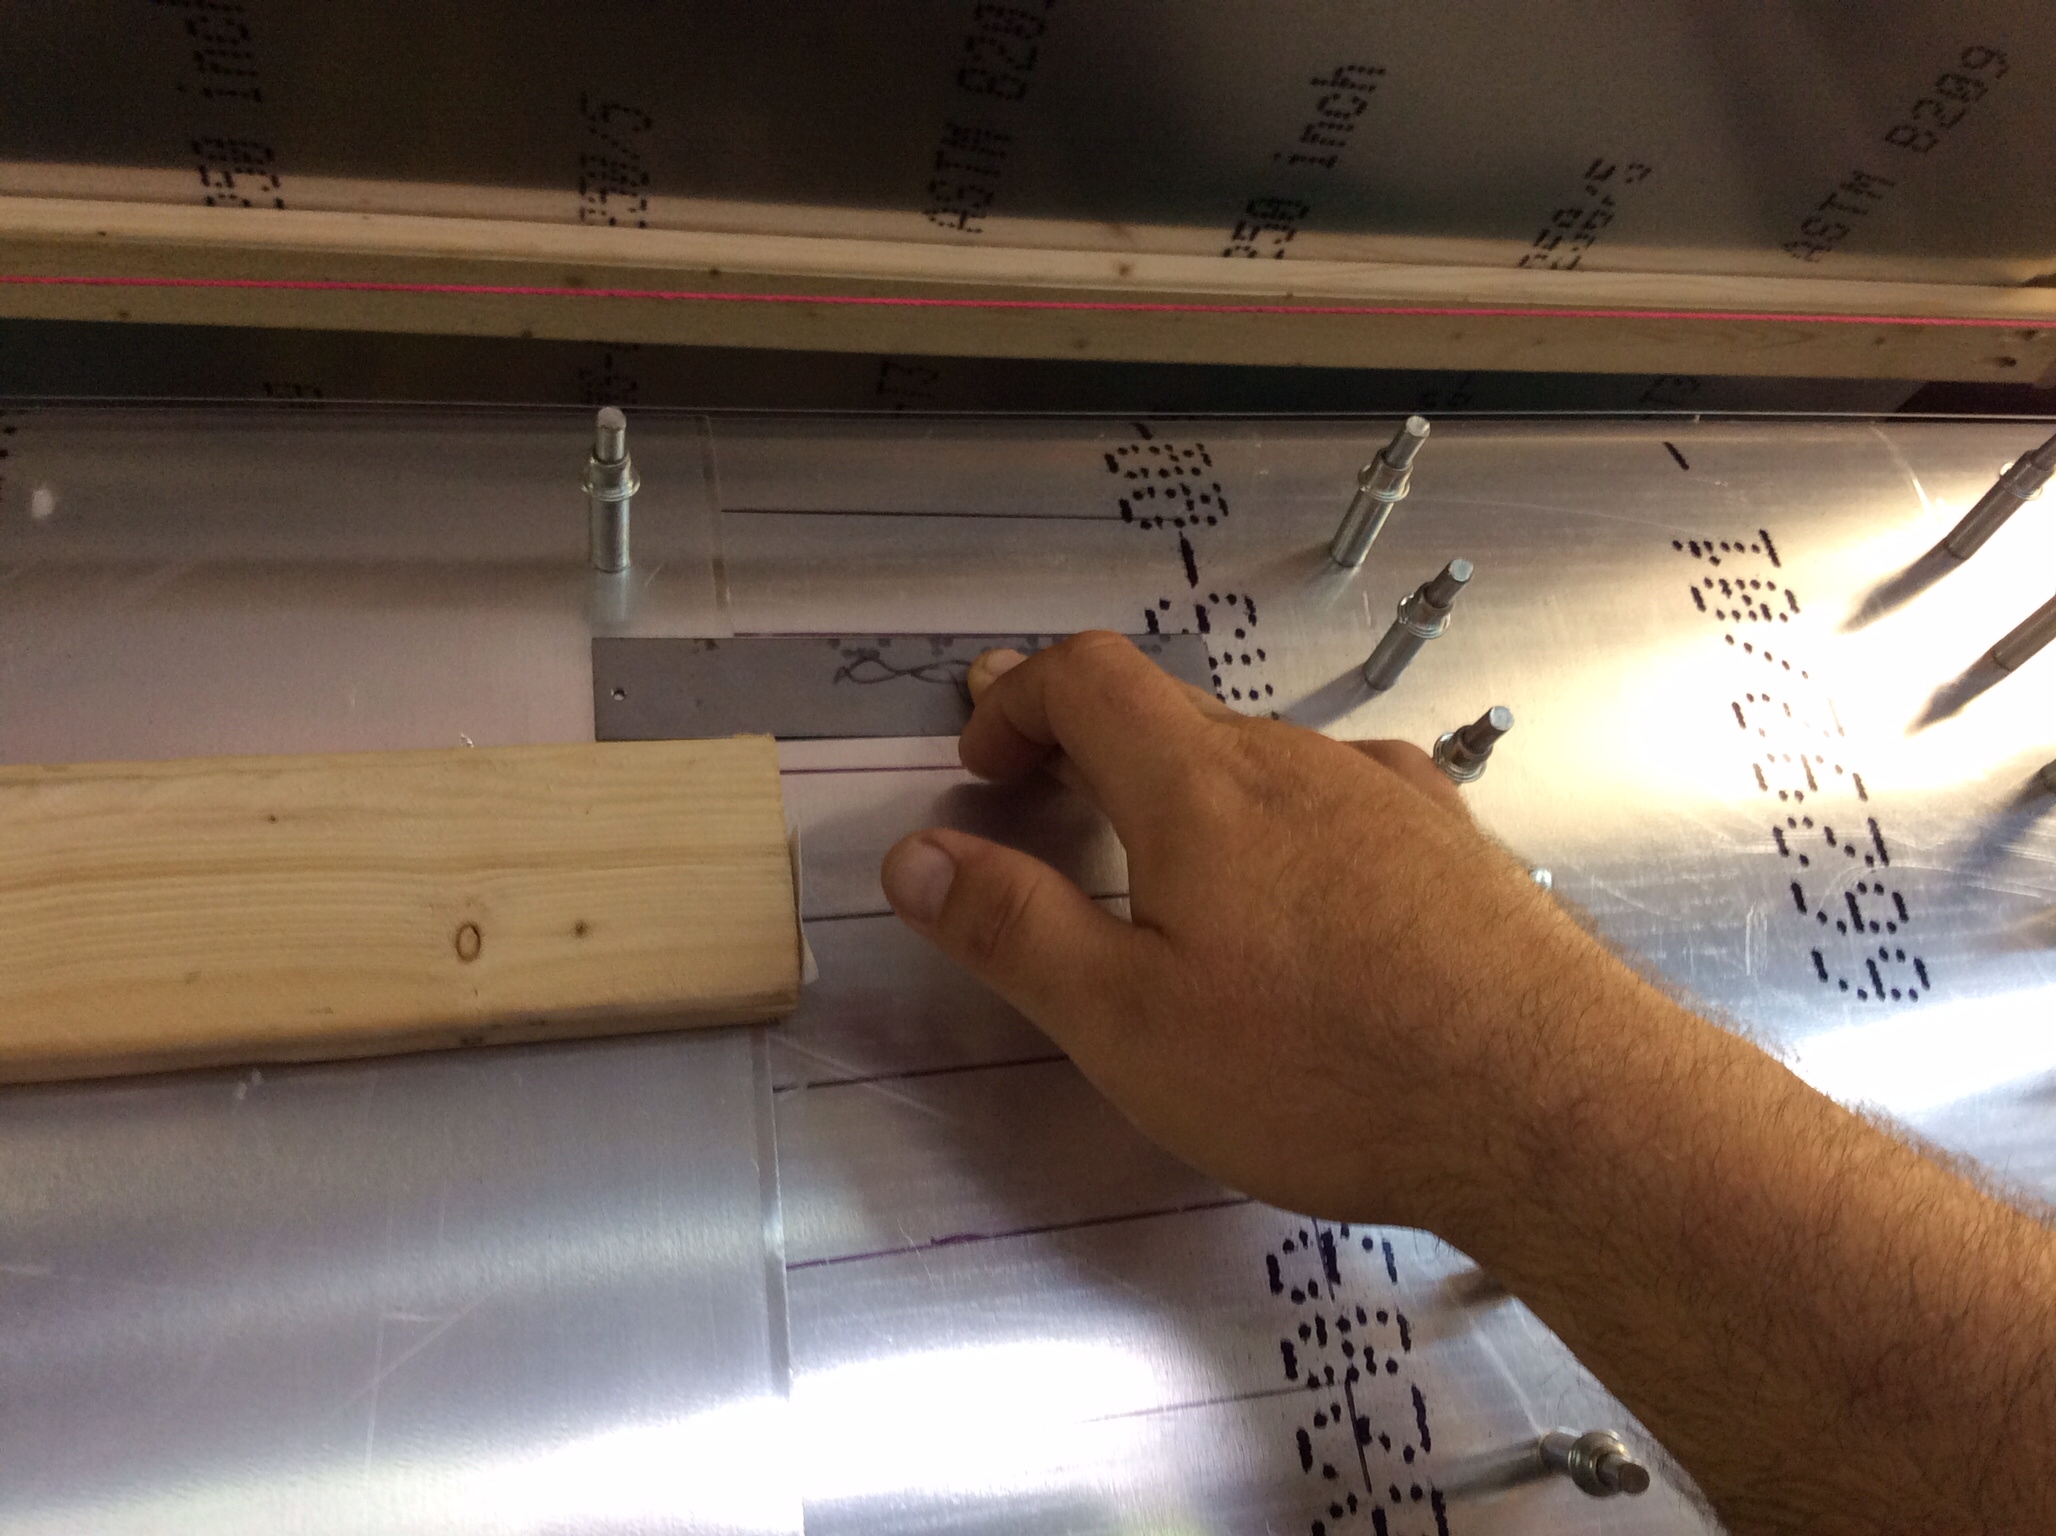
If you notice in the below picture the inboard holes have marks. This was done so the holes could be easily drilled where the skins overlap. I simply took a piece of scrap fuel tank strap and drilled a 3/32 hole in it. I scribbled on one side so I knew which side to always face me. I clecoed the small piece of strap then using a sharpie I marked the top and end sides. Now when the next skin is layered on top of the holes…..you just lined up your little guide to the marks and the hole is perfectly located!
The builders manual recommends drilling the spar last, but I am monitoring the wing for distortion as I go….and see no reason not to drill everything now.
I am overlapping the inboard panel on top of the outboard panel which is opposite of plans. I think it will be more aesthetically pleasing to the eye to look outboard and not see the overlapped panel’s edge.
Discussion
Comments are closed.