Measured the width between center ribs 2 & 3 then trimmed the false spar to fit. I joggled the 4 corners of the false spar with my vice and joggle tool.
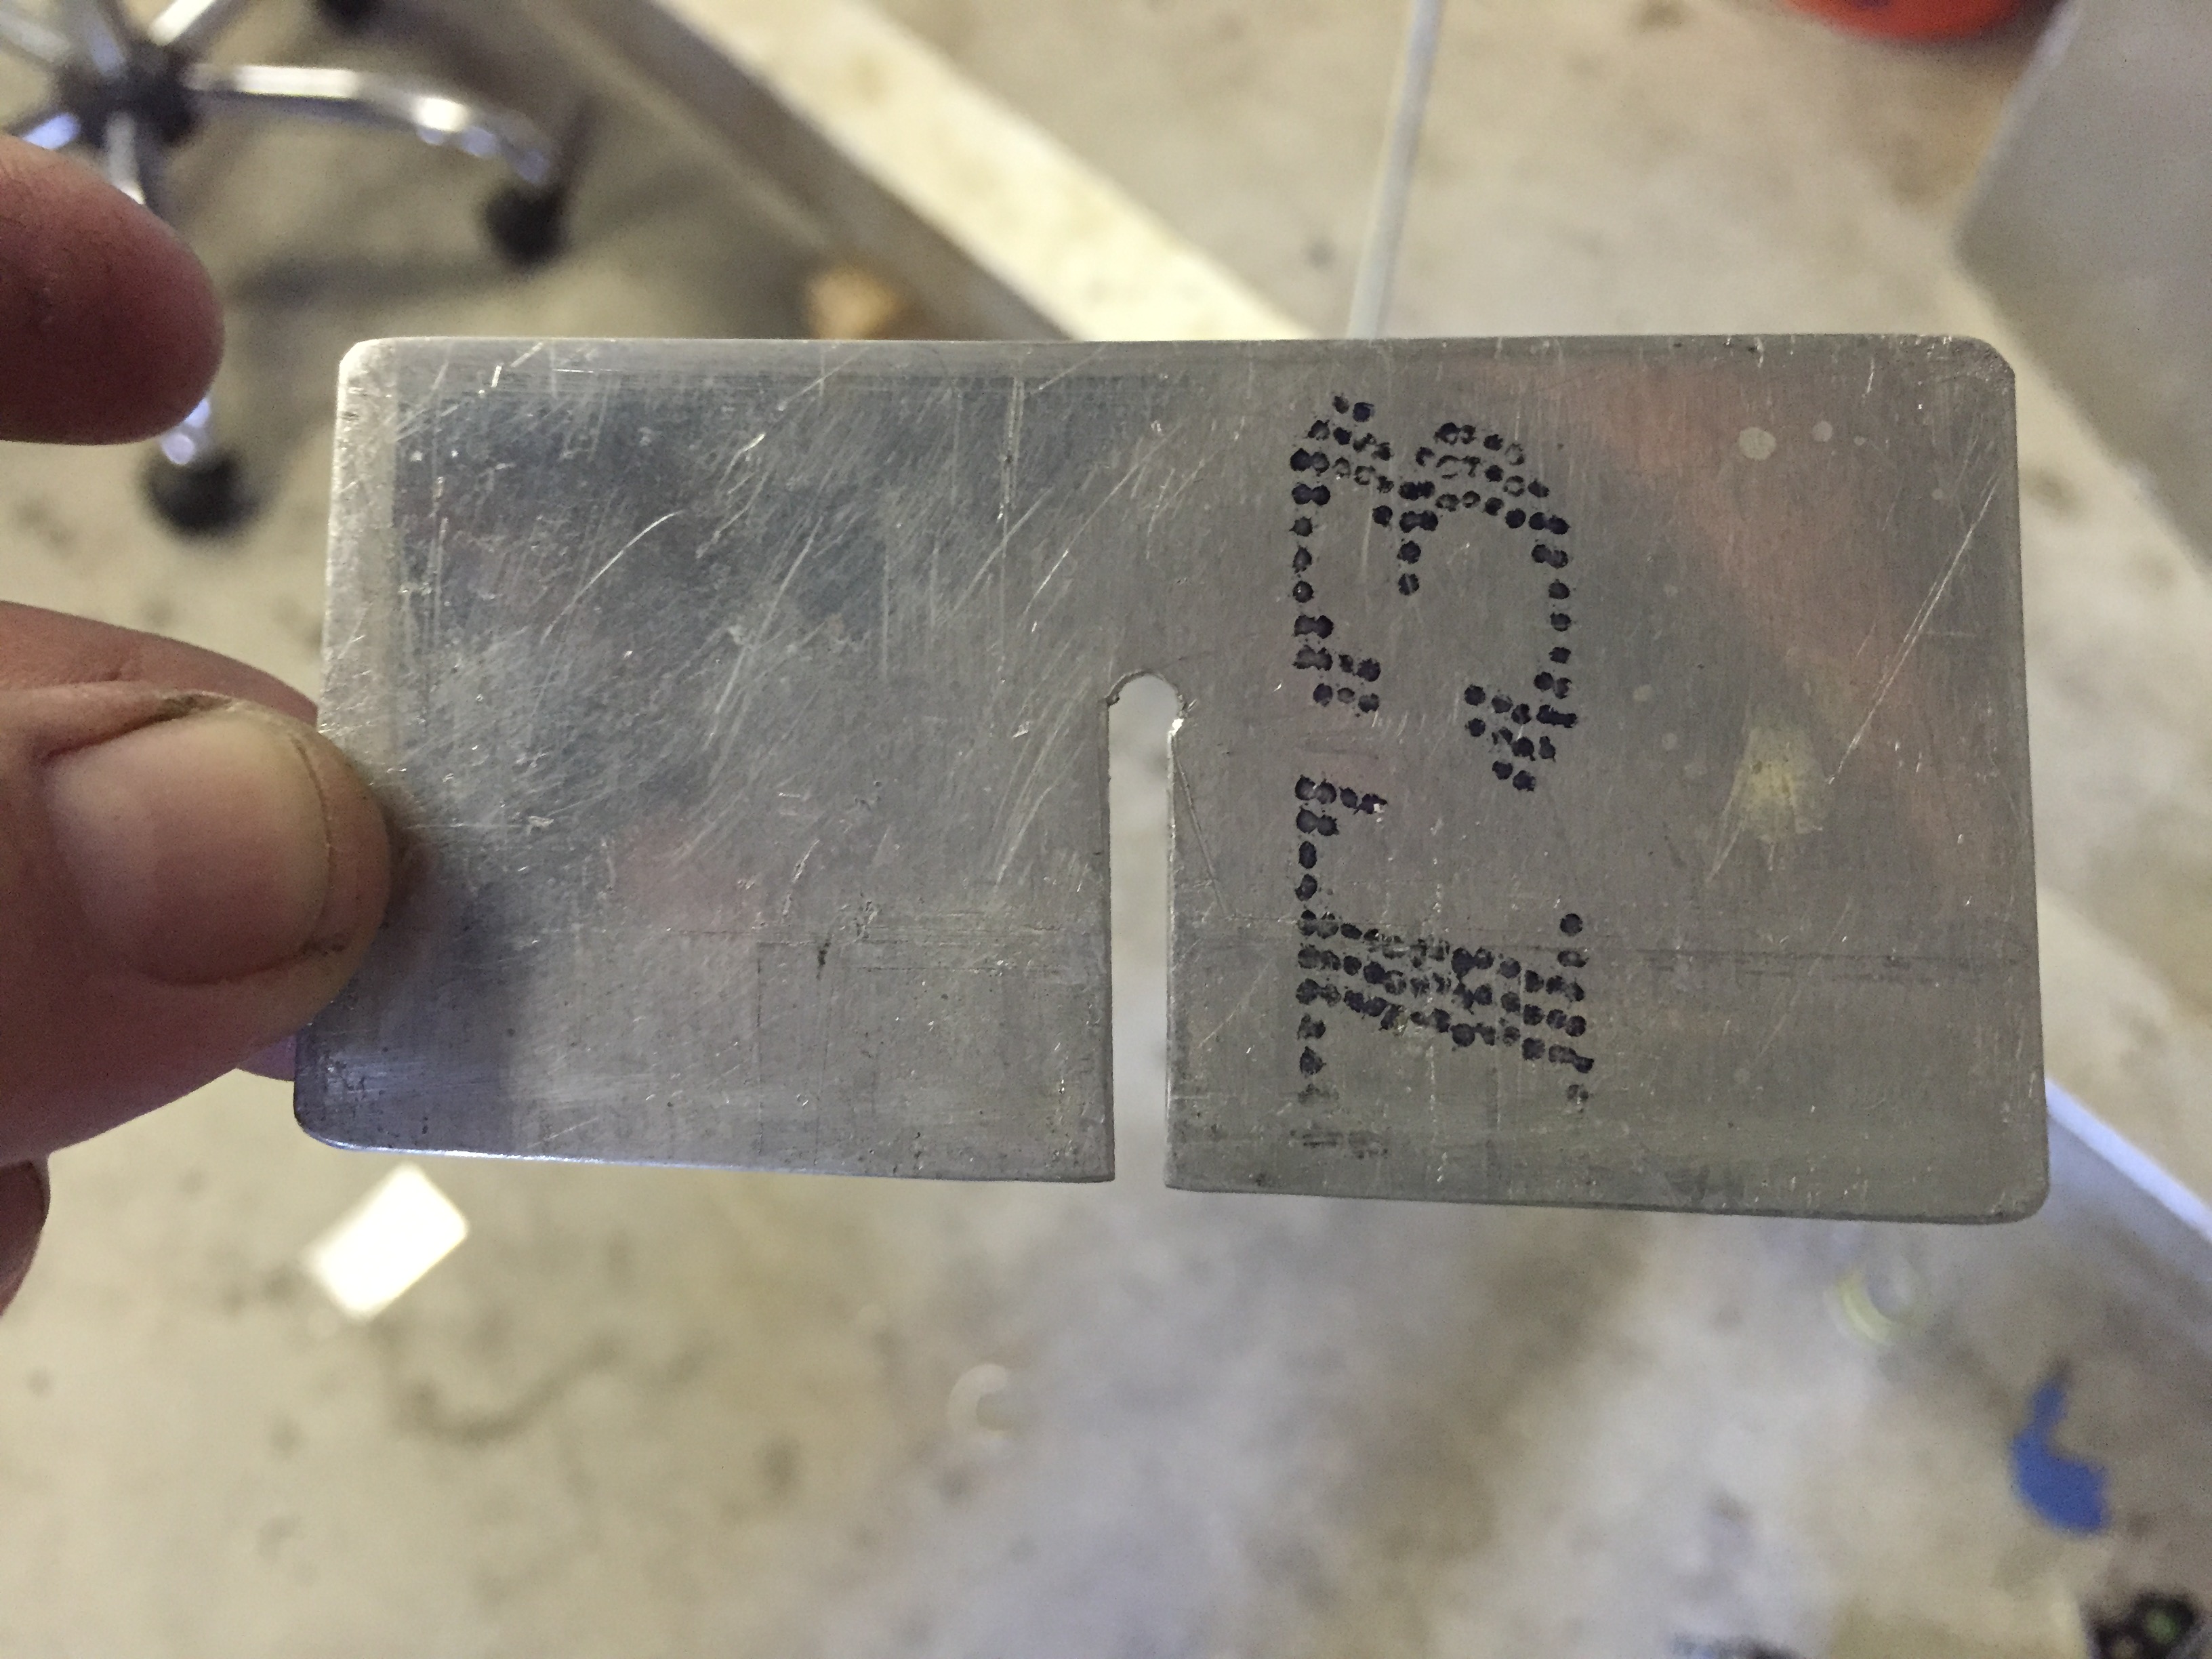
Joggle Tool, a piece of .040 aluminum with a .125 slit.
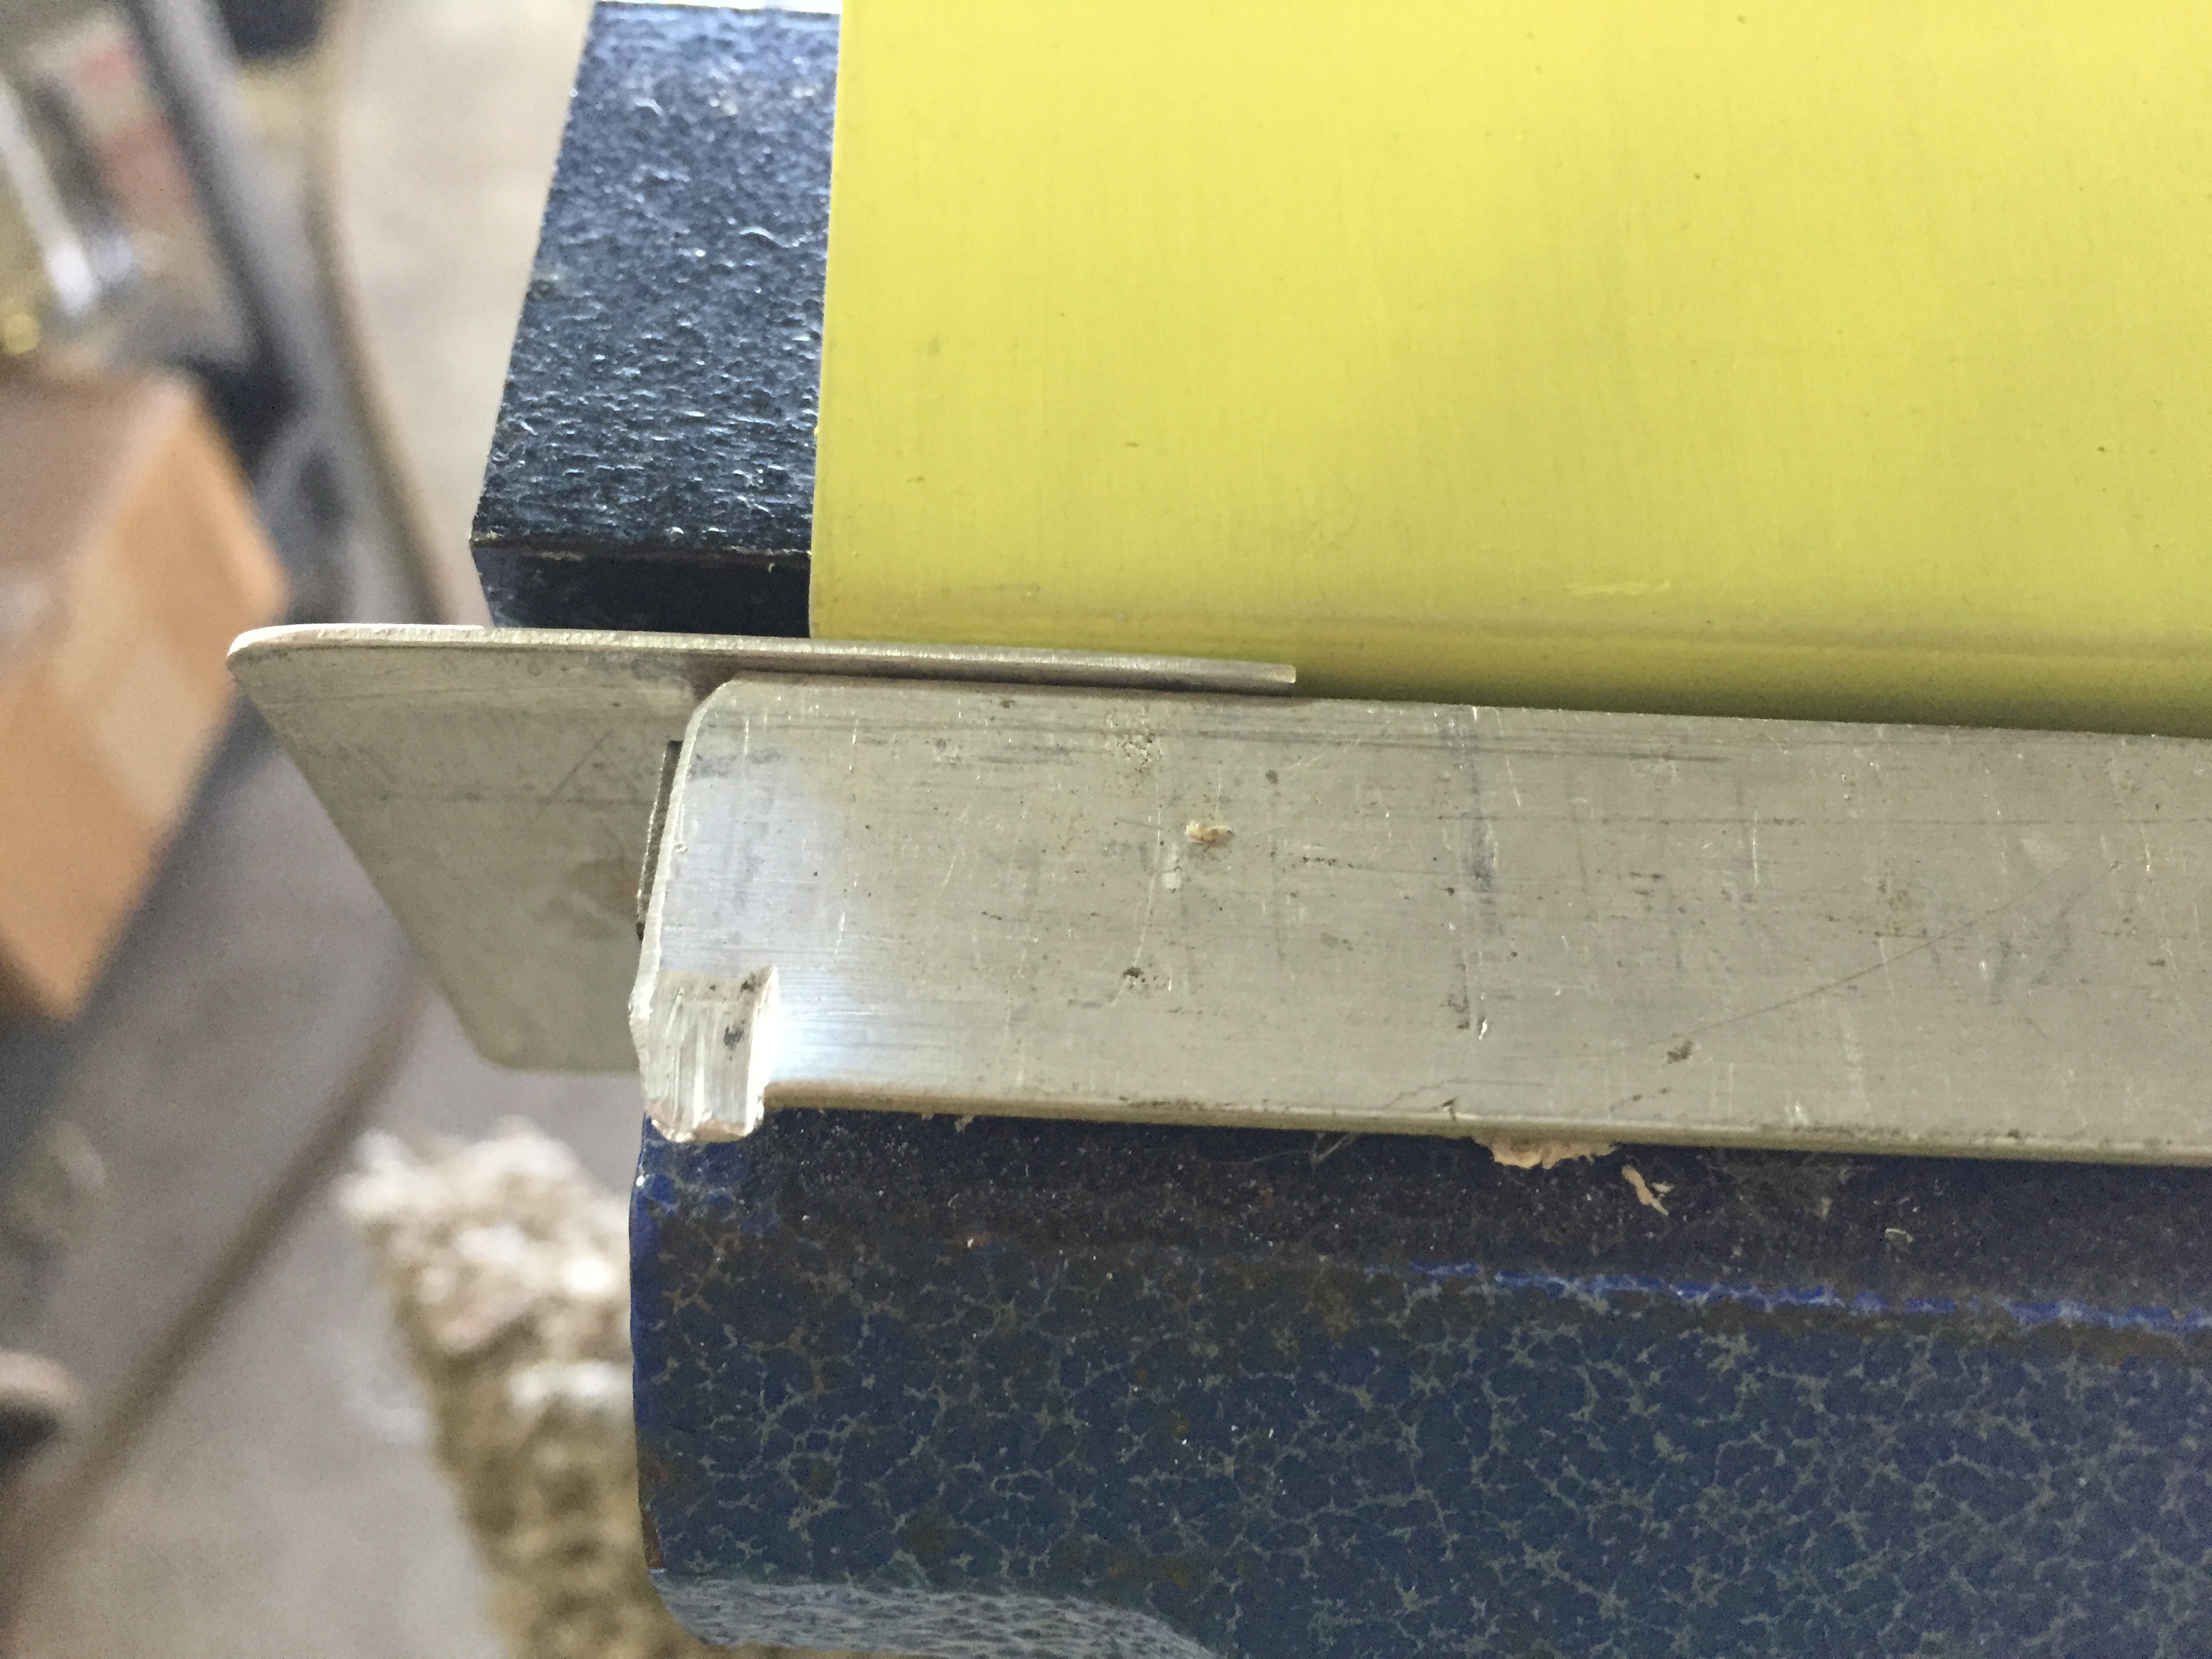
Using the vice on joggle tool.
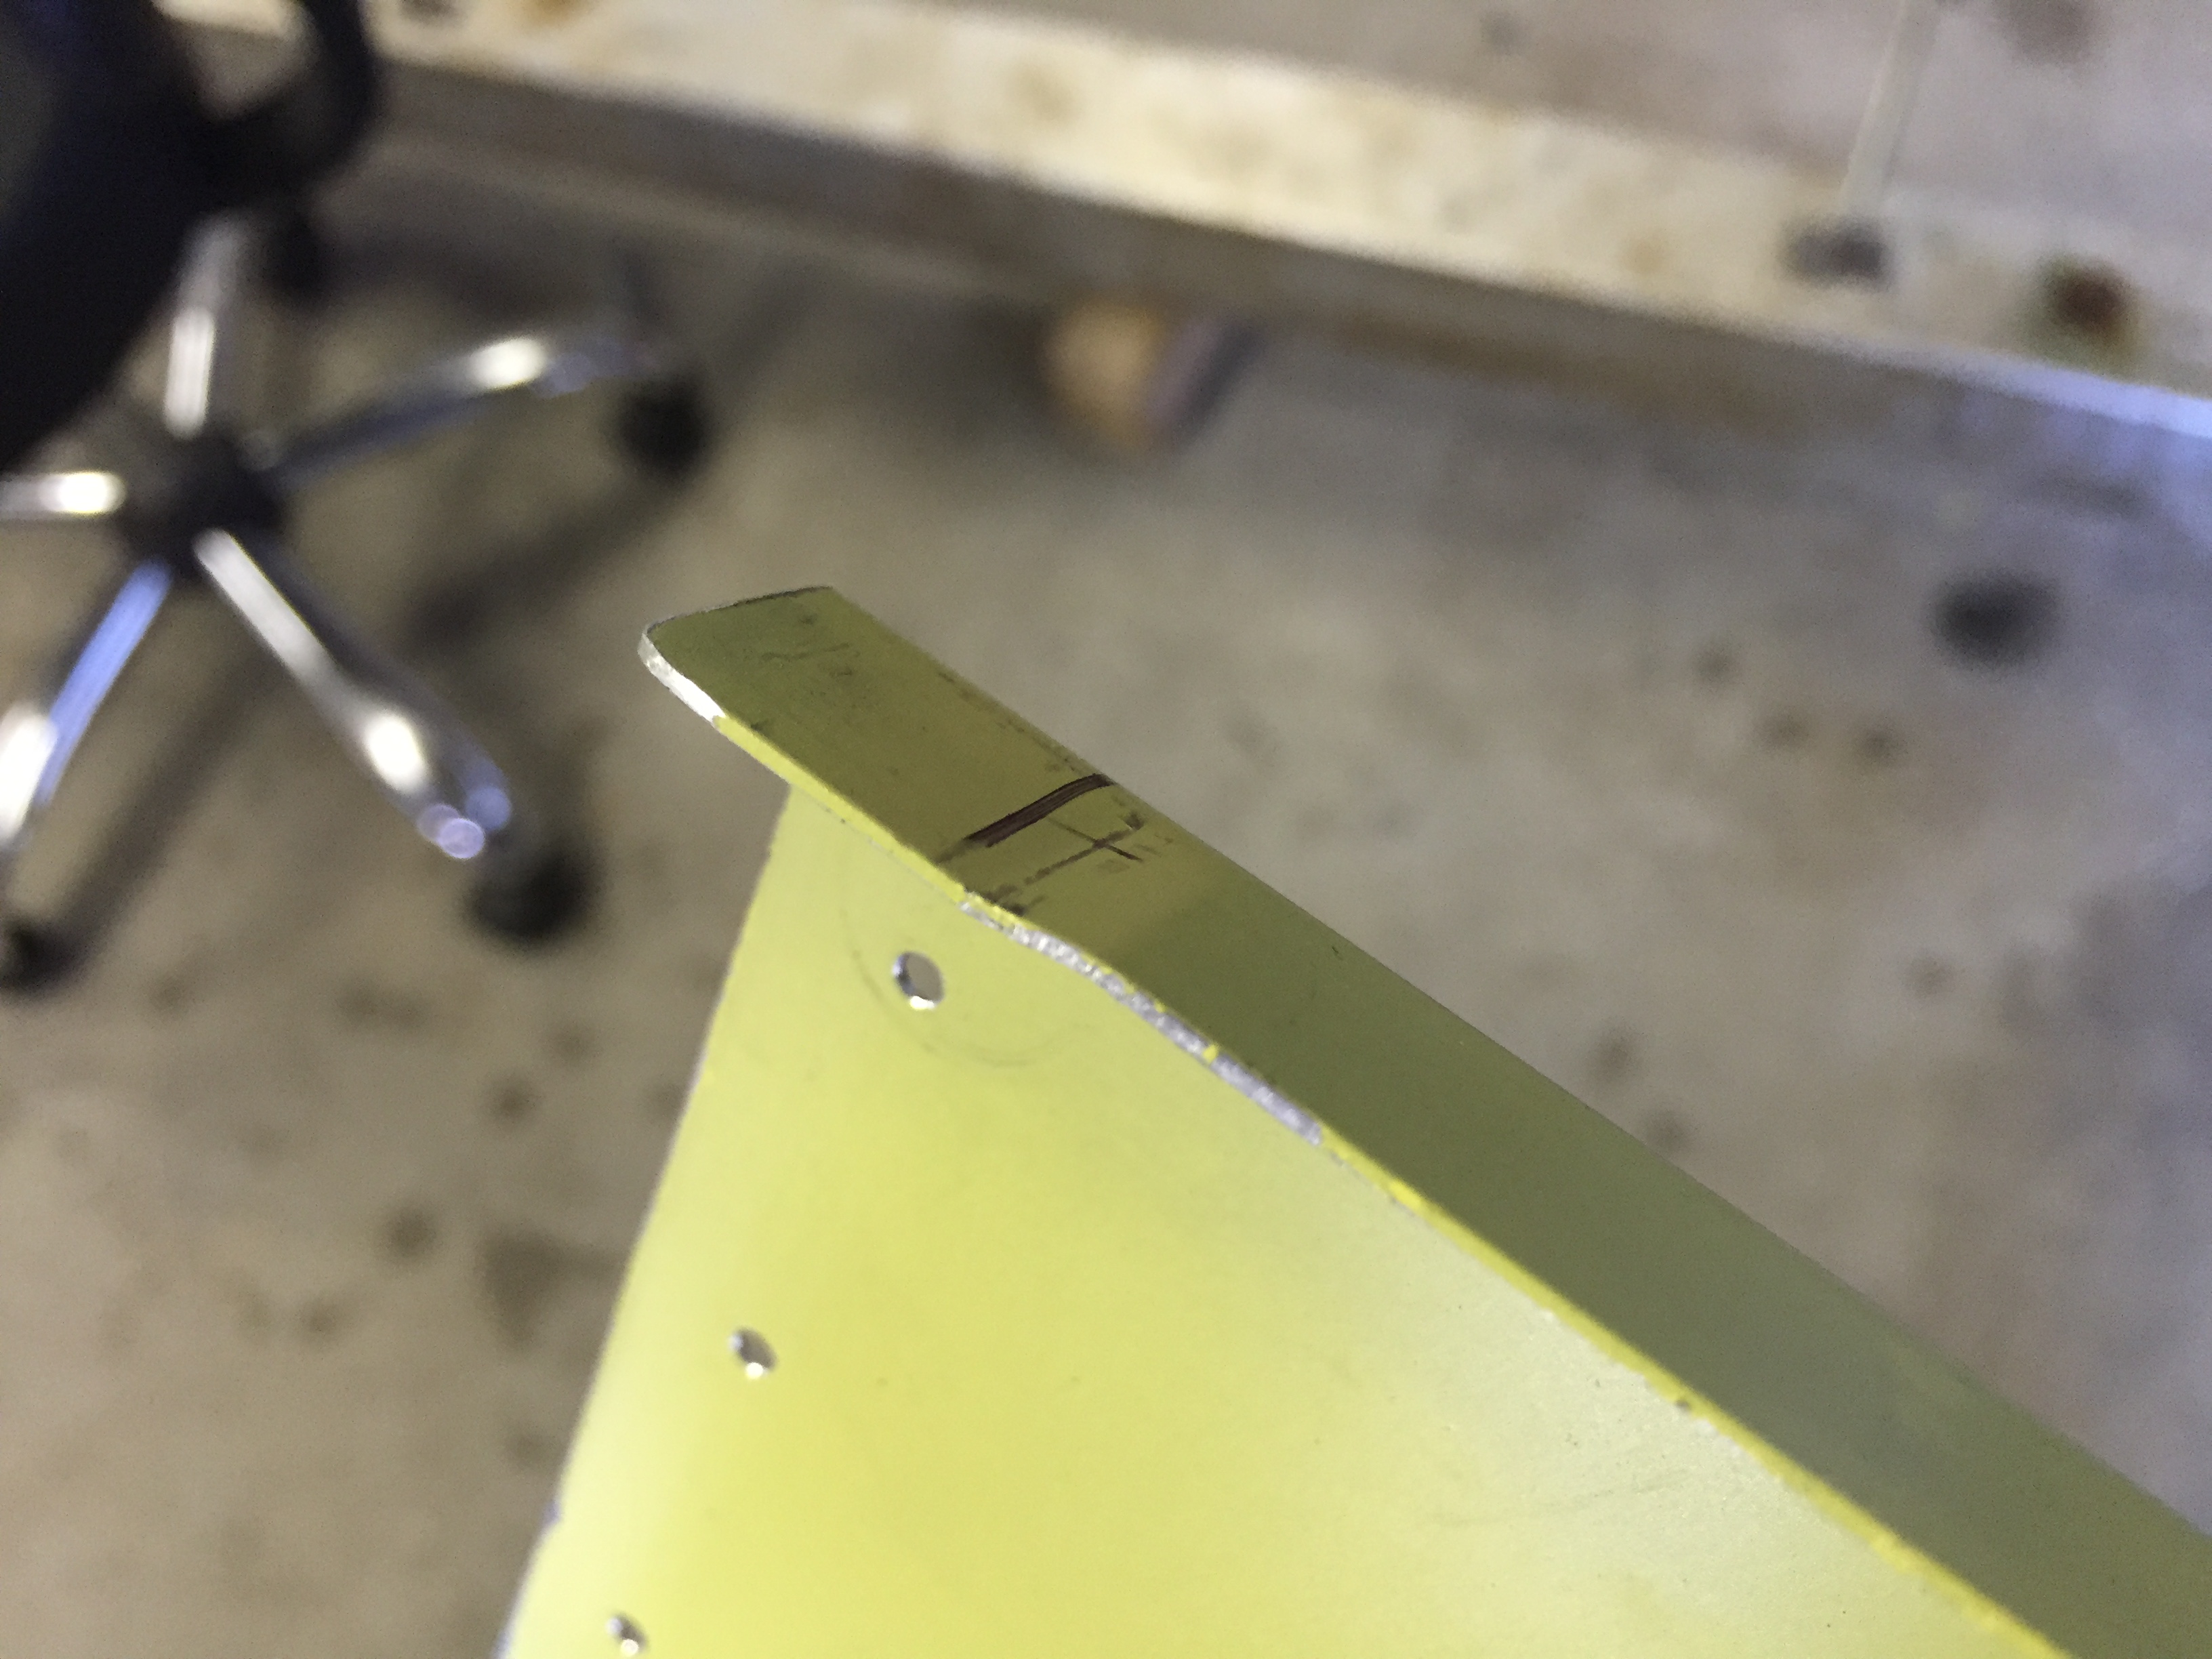
Completed joggle.
Measured up from the rear spar 6 inches and set the outboard attach angle. I used a little level to set it horizontally and clamped it in place. Did the same thing on the inboard rib. Set the false spar in and checked it with the digital level, 0.0 just what you want to see. I then set the 2 small back ribs in place and using a couple pieces of .032 to simulate wing skins to get the position correct. I then clamped the attach angles to the back ribs and false spar. Once everything was clamped and level checked, I drilled and clecoed everything.
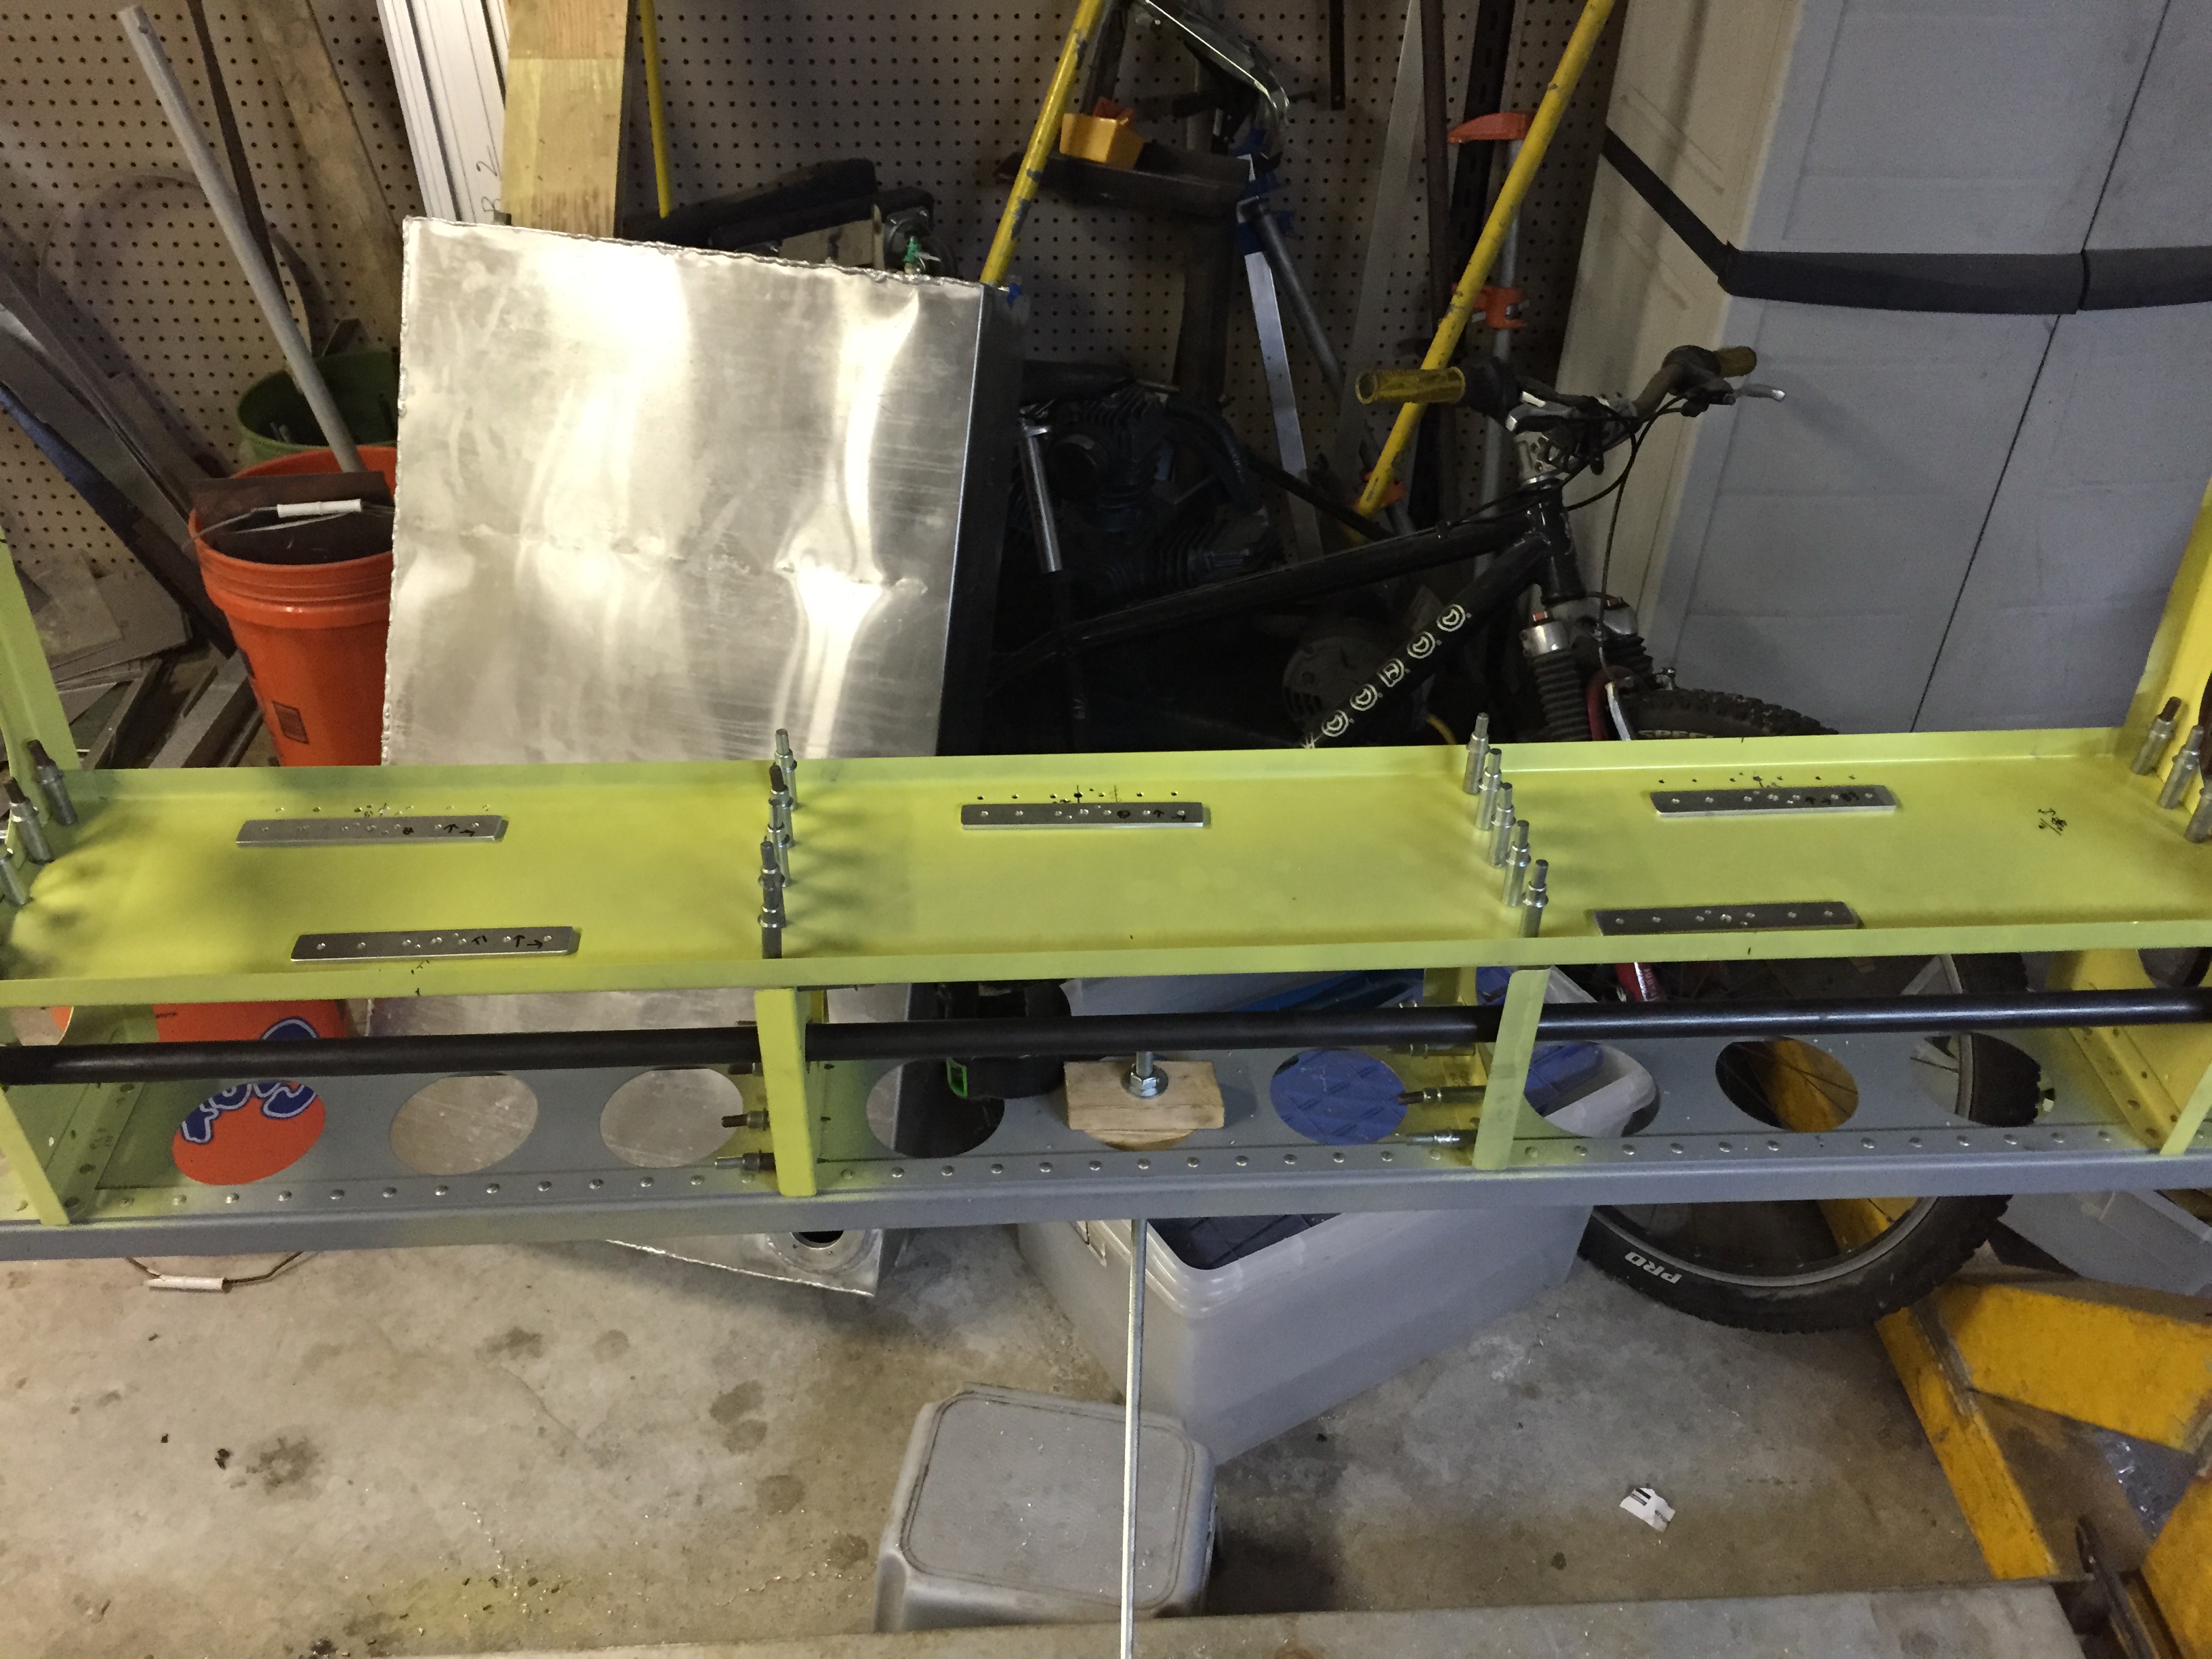
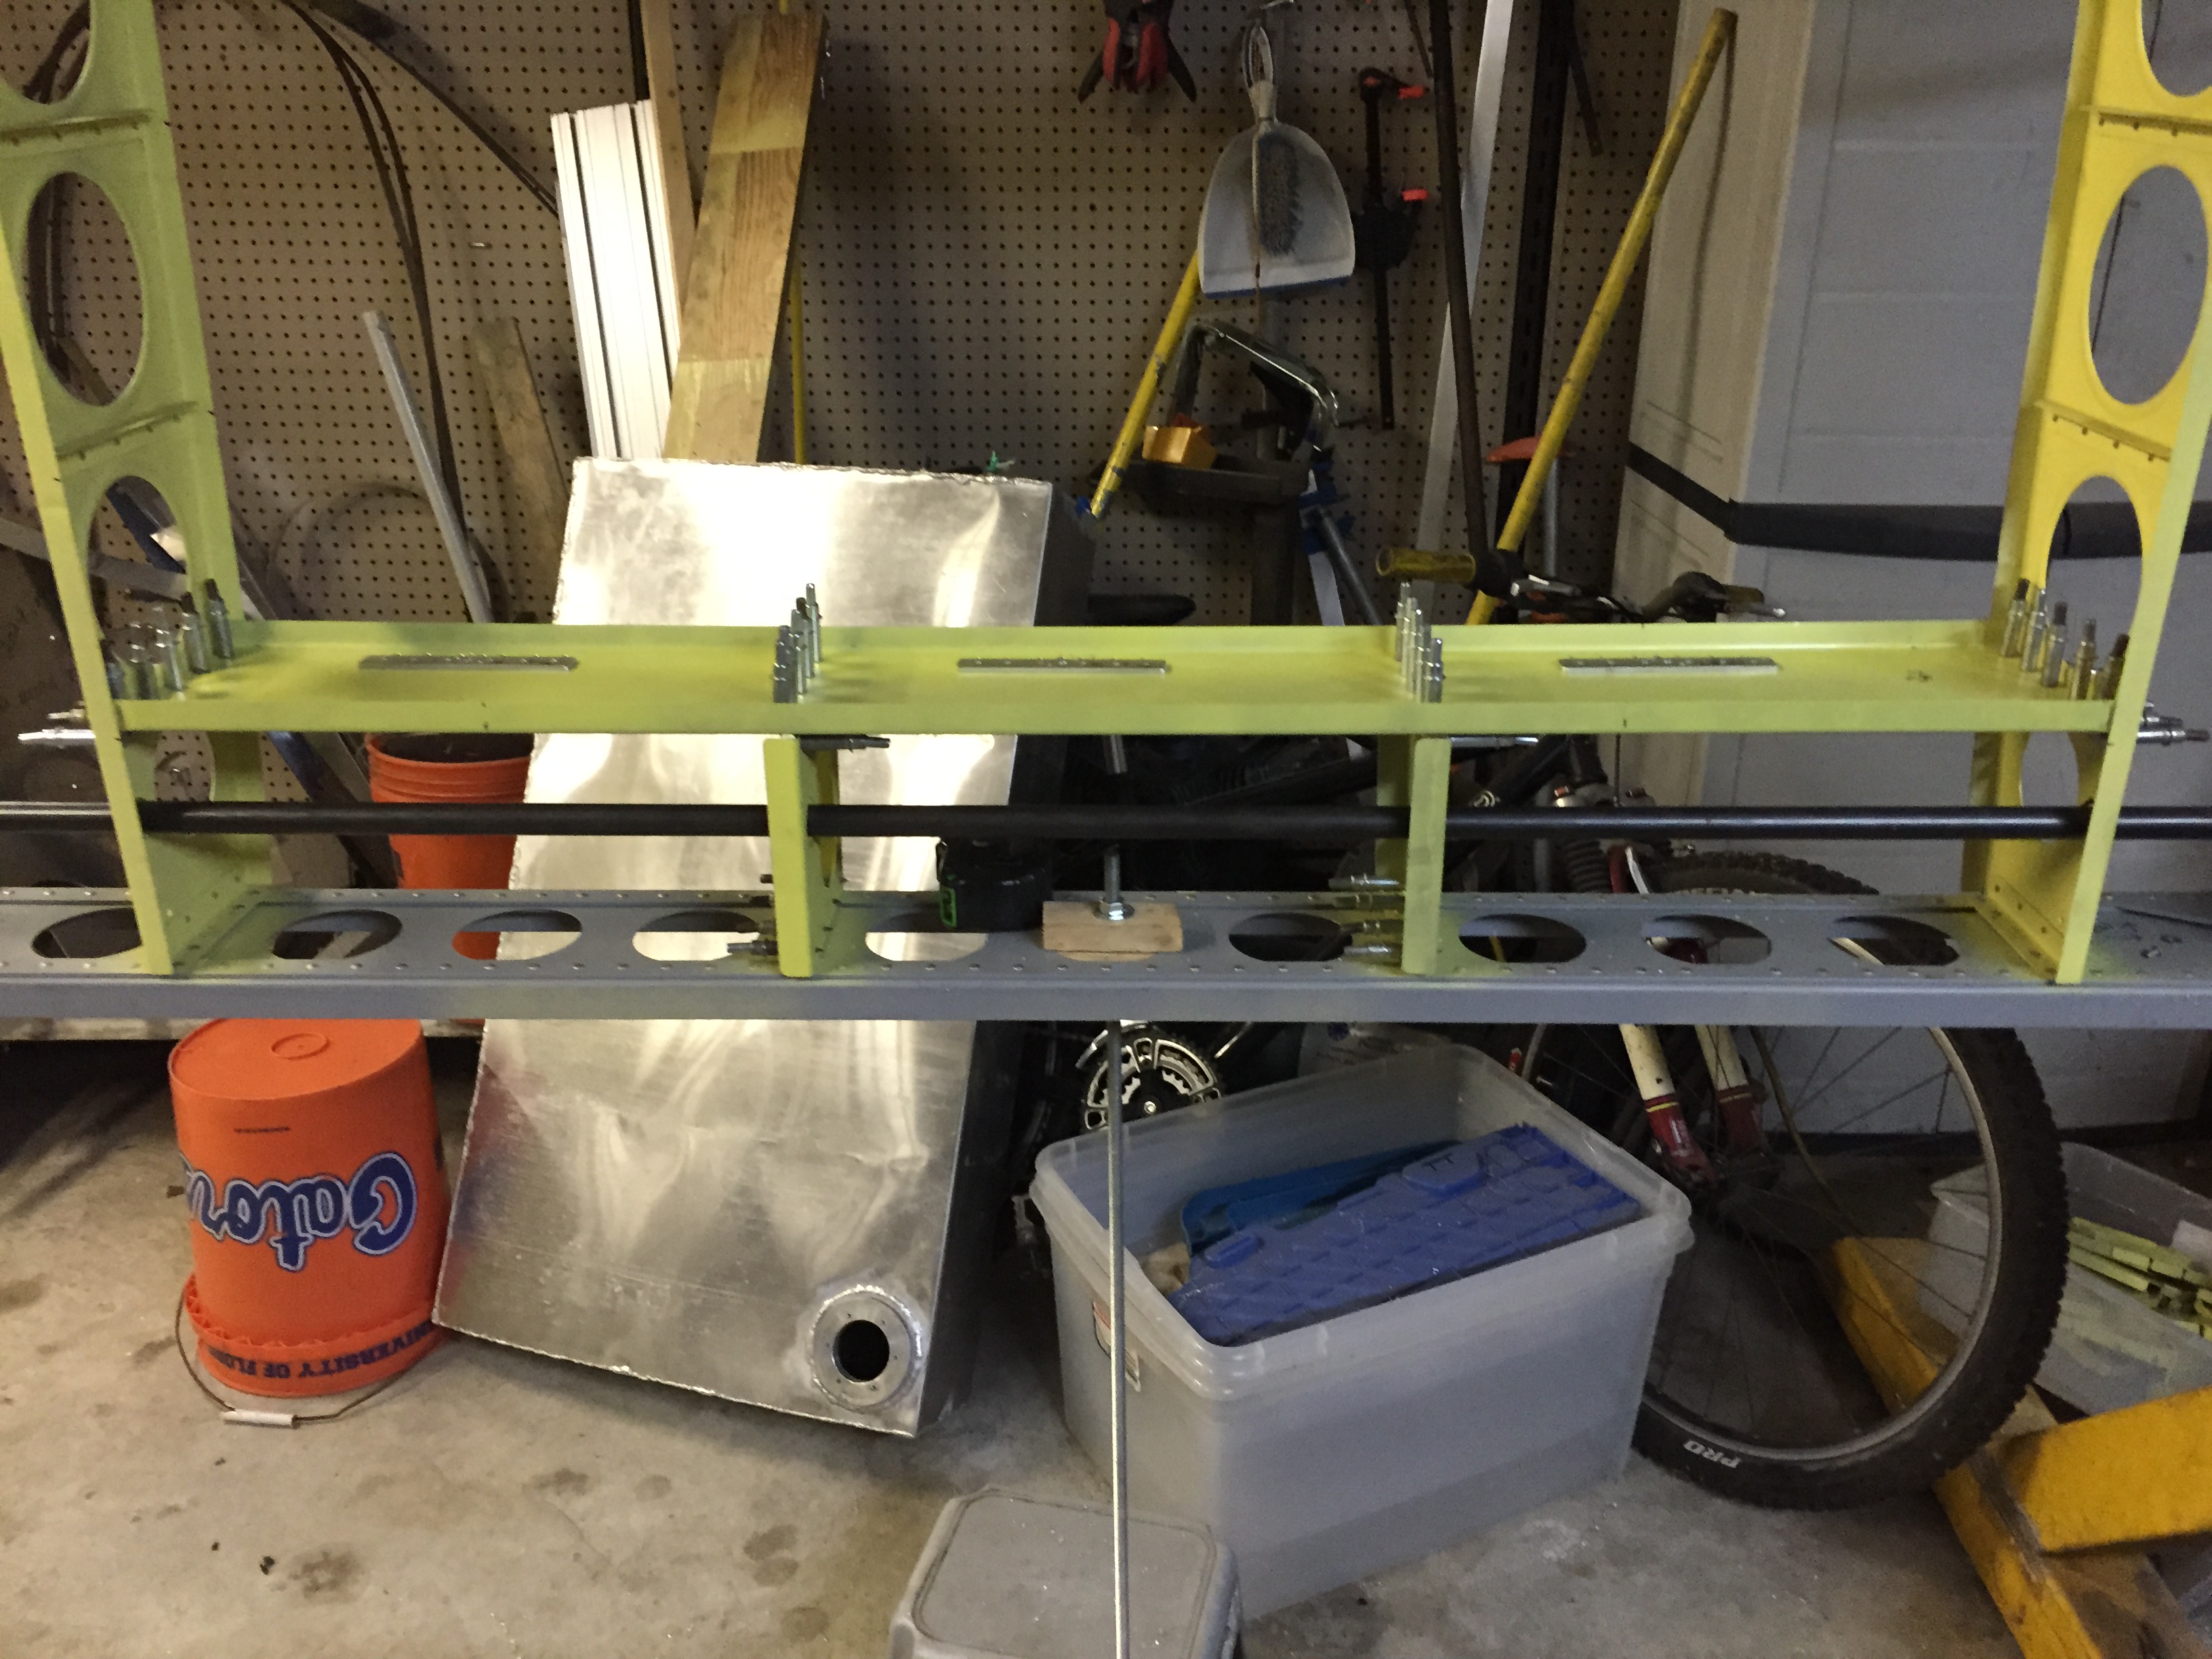
I held the fuel tank up to see where the filler flange lands on the main spar and marked it, also marked the end of the tank….since it does not sit centered in the bay. The tank is offset slightly to the outboard to give more room on the inboard side where all the fittings go. I did this so I don’t put a fuel strap where it might hit the filler neck. I held a plumb bob hanging from the rivets behind the spars to find the exact spot on the false spar where the fuel tank straps will attach. There are 2 top straps and 3 bottom straps.
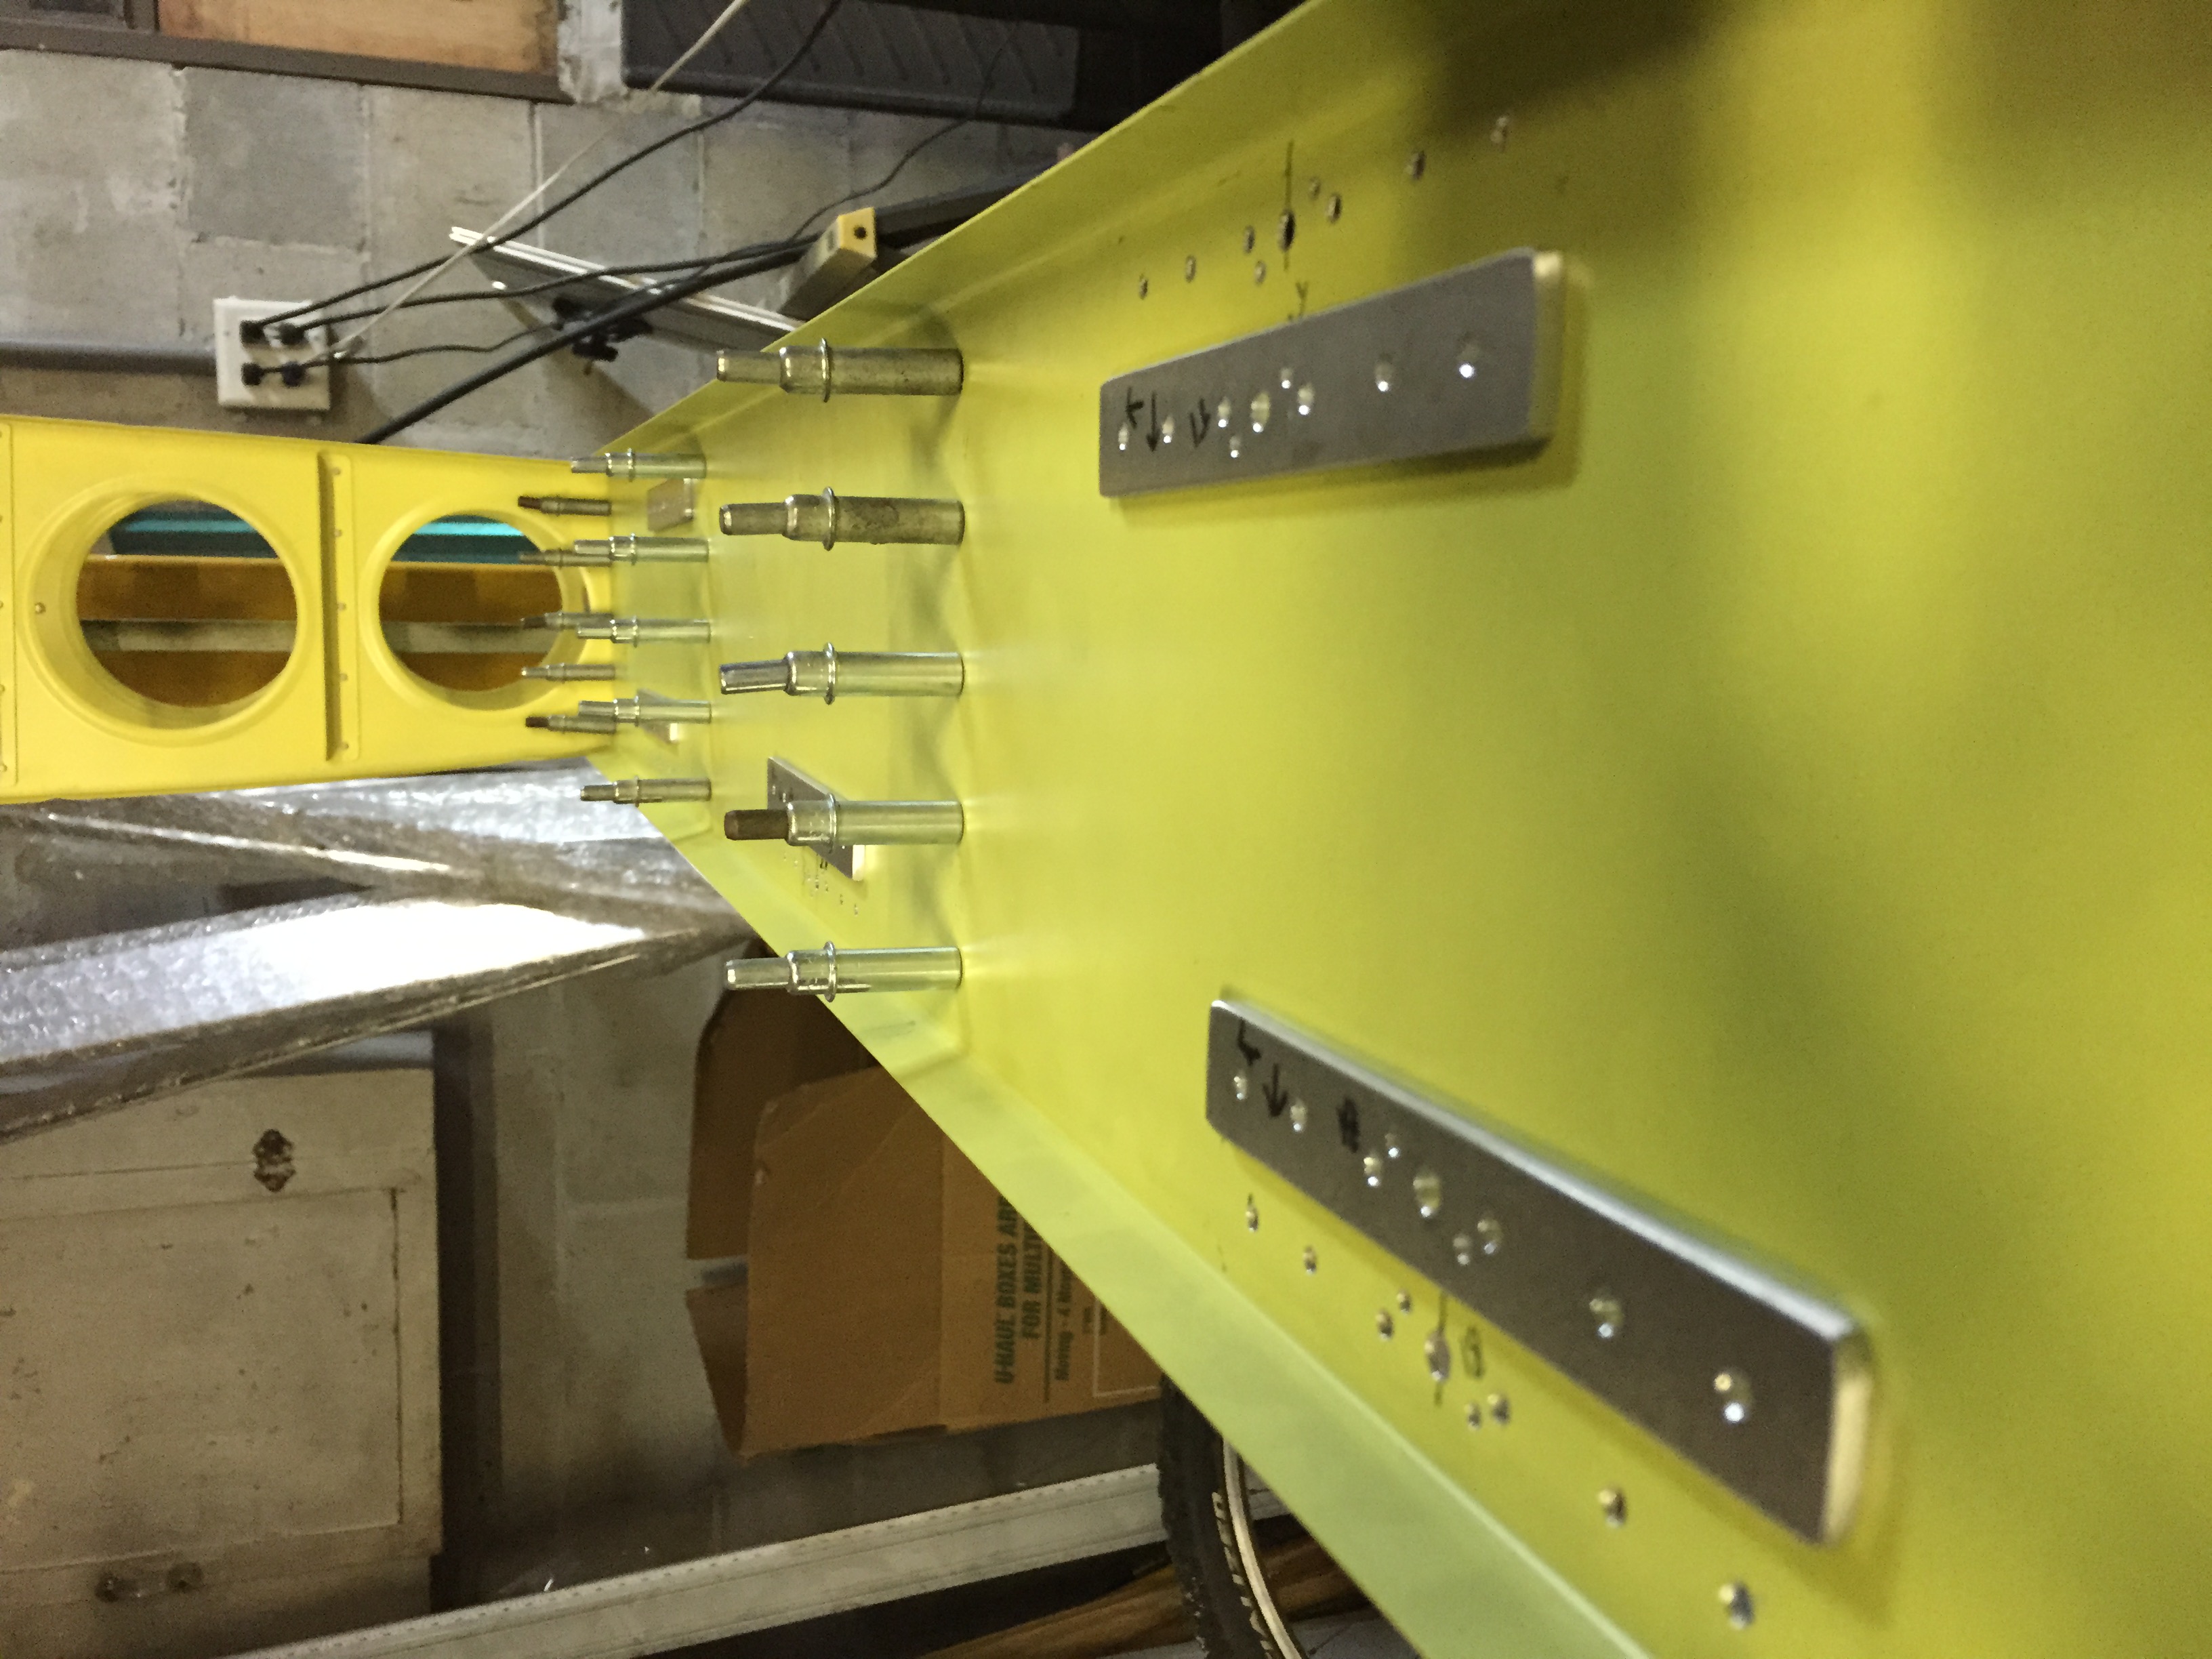
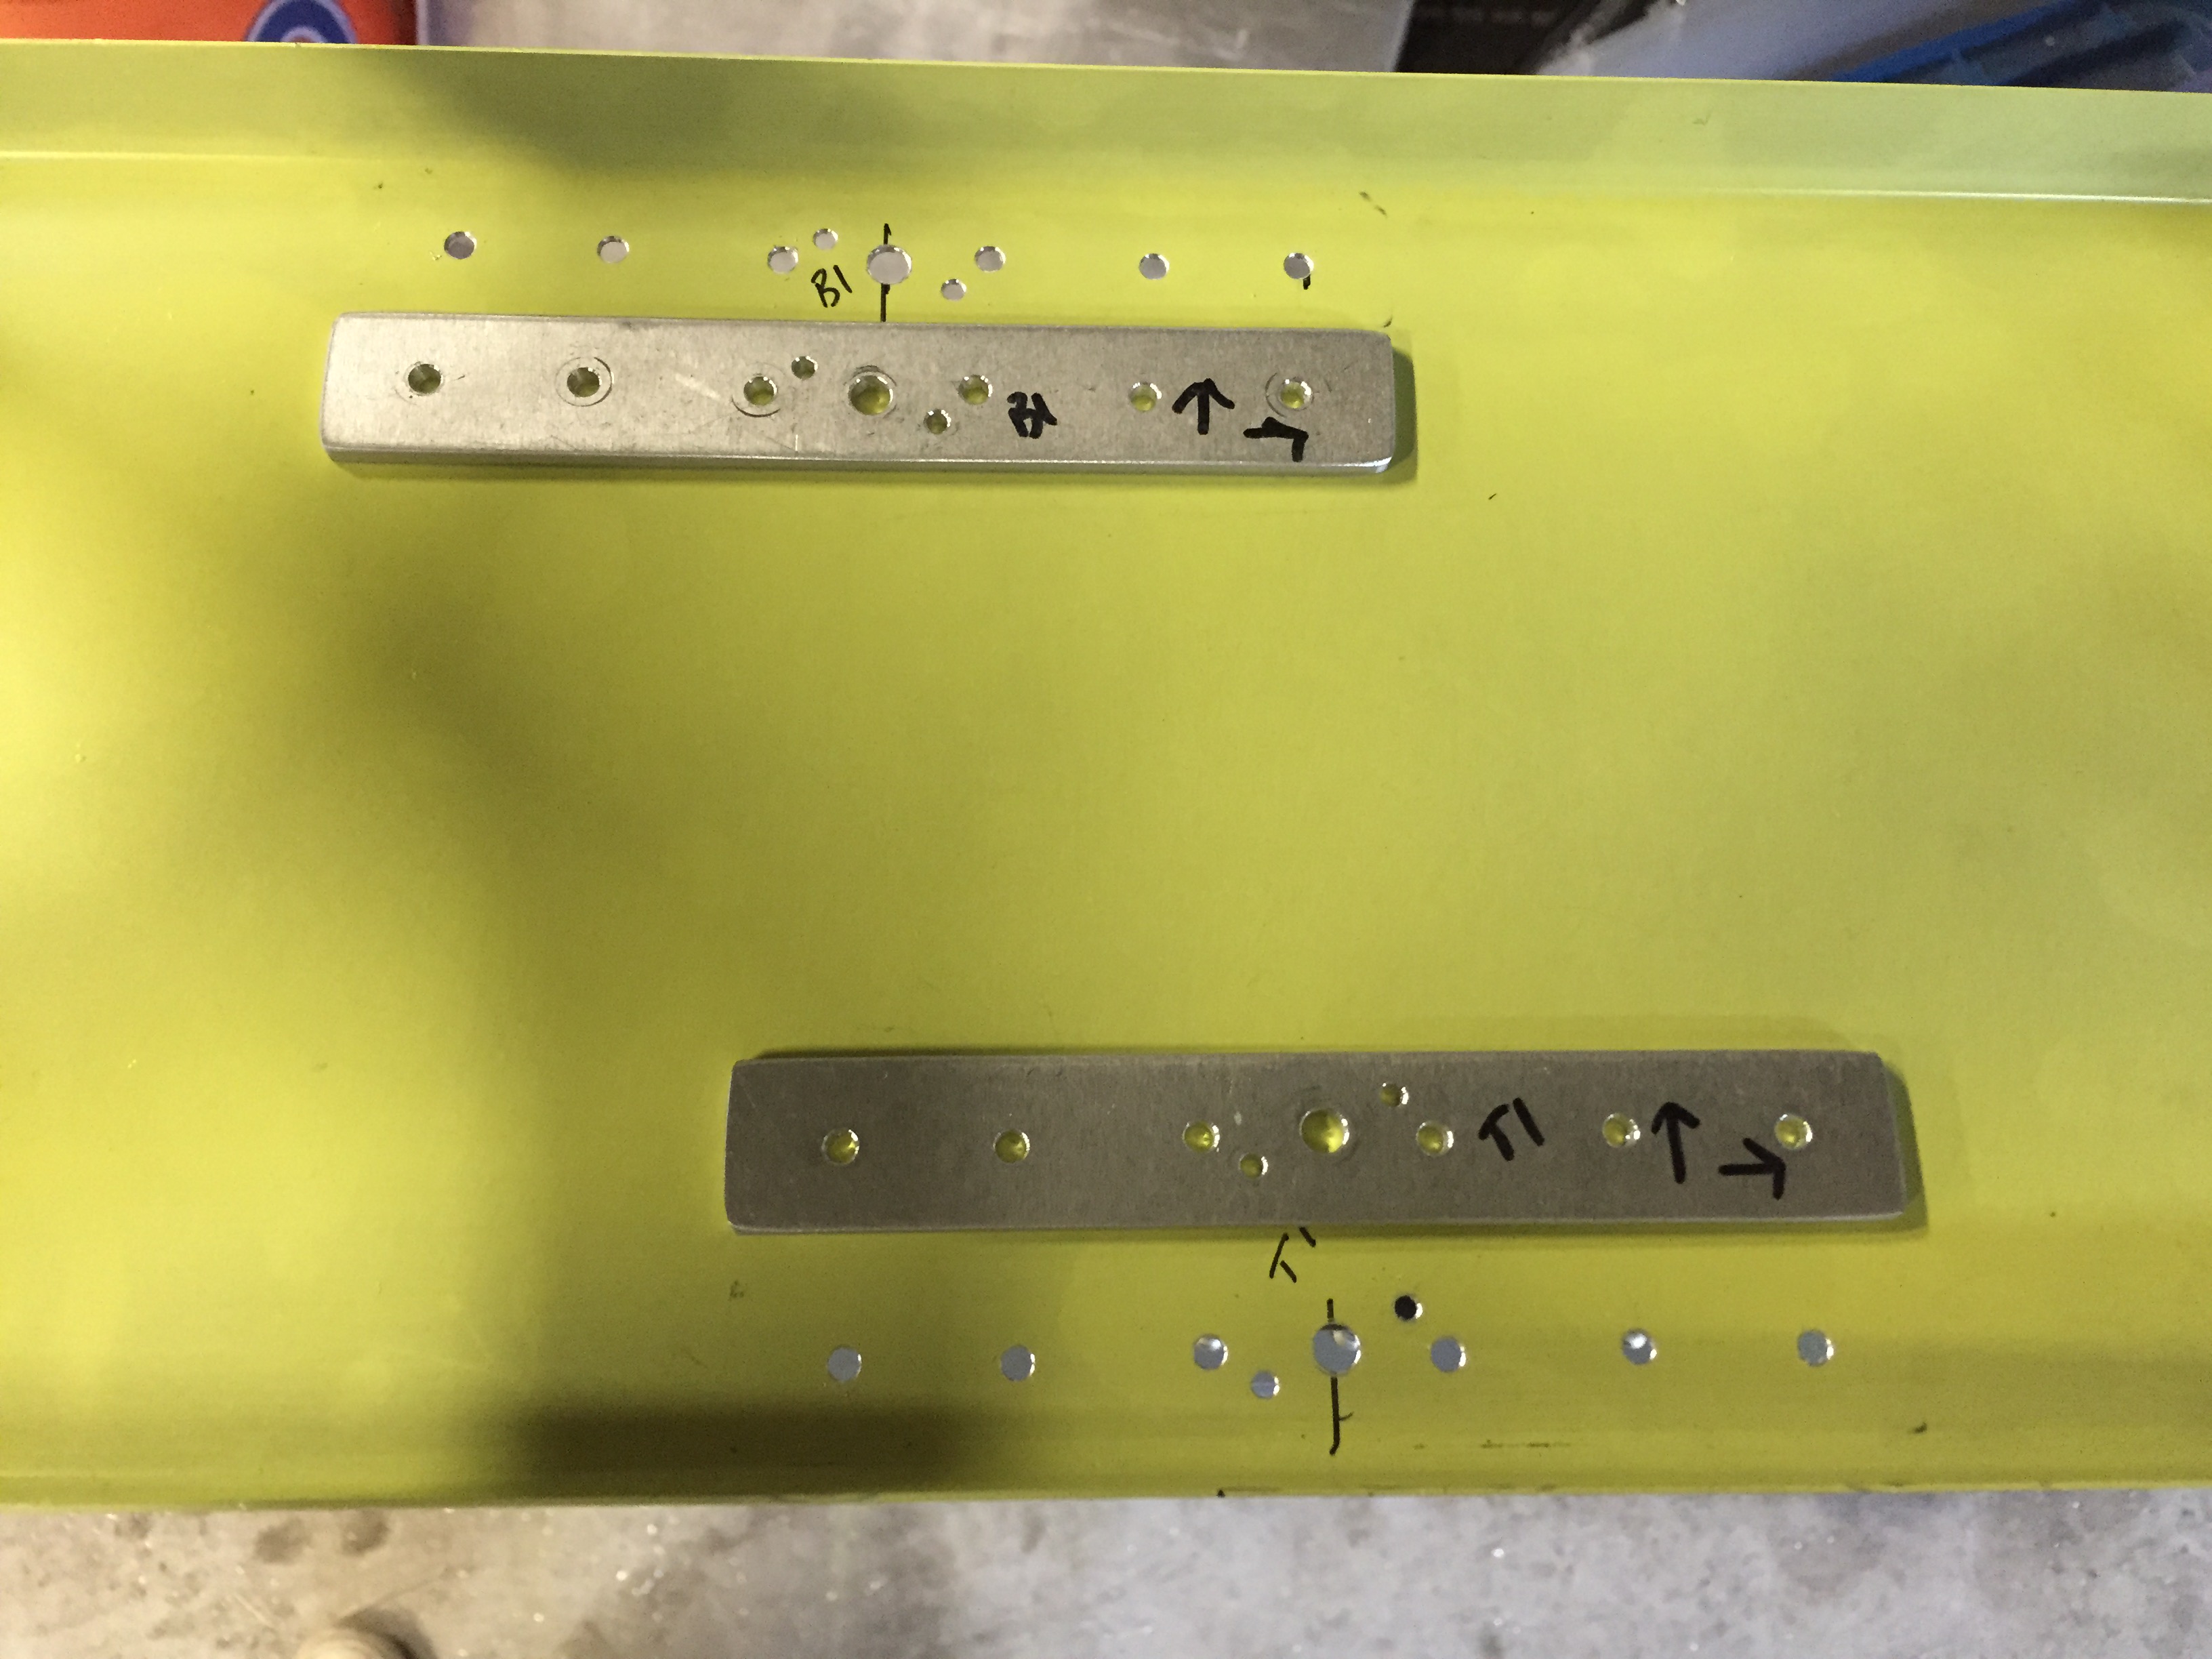
After everything was marked, I match drilled my .125 backing strips to the false spar. I went back and opened up the rivet holes to 1/8 and the bolt hole to 3/16. With the strip clecoed down I put a bolt up from the bottom and caught a few threads of the plate nut. I positioned the plate nut where I wanted it and drilled one leg, put a cleco in and drilled the other leg. I did this for all 5 backing plates.
Then as anyone who builds a plane knows, I took it all apart. “Put it together, take it apart” <— That’s what homebuilding is all about 🙂 I deburred all the holes and will prep and prime the attach angles and backing plates.
Discussion
Comments are closed.