I have struggled to figure out how to hinge the flap on to the wing. I don’t have a table big enough, nor do I want to build one. My wings are sitting in nice rotisserie racks which make working on them nice. I left the top skin long and untrimmed up until this point, with the ultimate goal of trimming it just shy of touching the flap. I want to minimize the gap for aesthetics and perhaps performance.
I also learned after reading that the factory wings only pop rivet the gussets onto the flight controls, so you are supposed to drill out the pop rivets and remove the gussets. This makes clamping the hinges on much easier…..but I learned this after building my flaps and ailerons. That ship sailed for me.
So my decision to leave the skin long,installed gussets and not using a table have presented a challenge to following the procedure in Eric’s manual.
I called Steve for help and he came up with a great method. We built spacer blocks to keep the hinges properly spaced, basically the width of the heim joint plus 1/32 (for some wiggle room). We used small C clamps to tightly clamp the wood between the 2 hinge halves. We then had to cut the c clamp stem off so it would fit into the hinge pocket, luckily the small c clamps are inexpensive at HF.
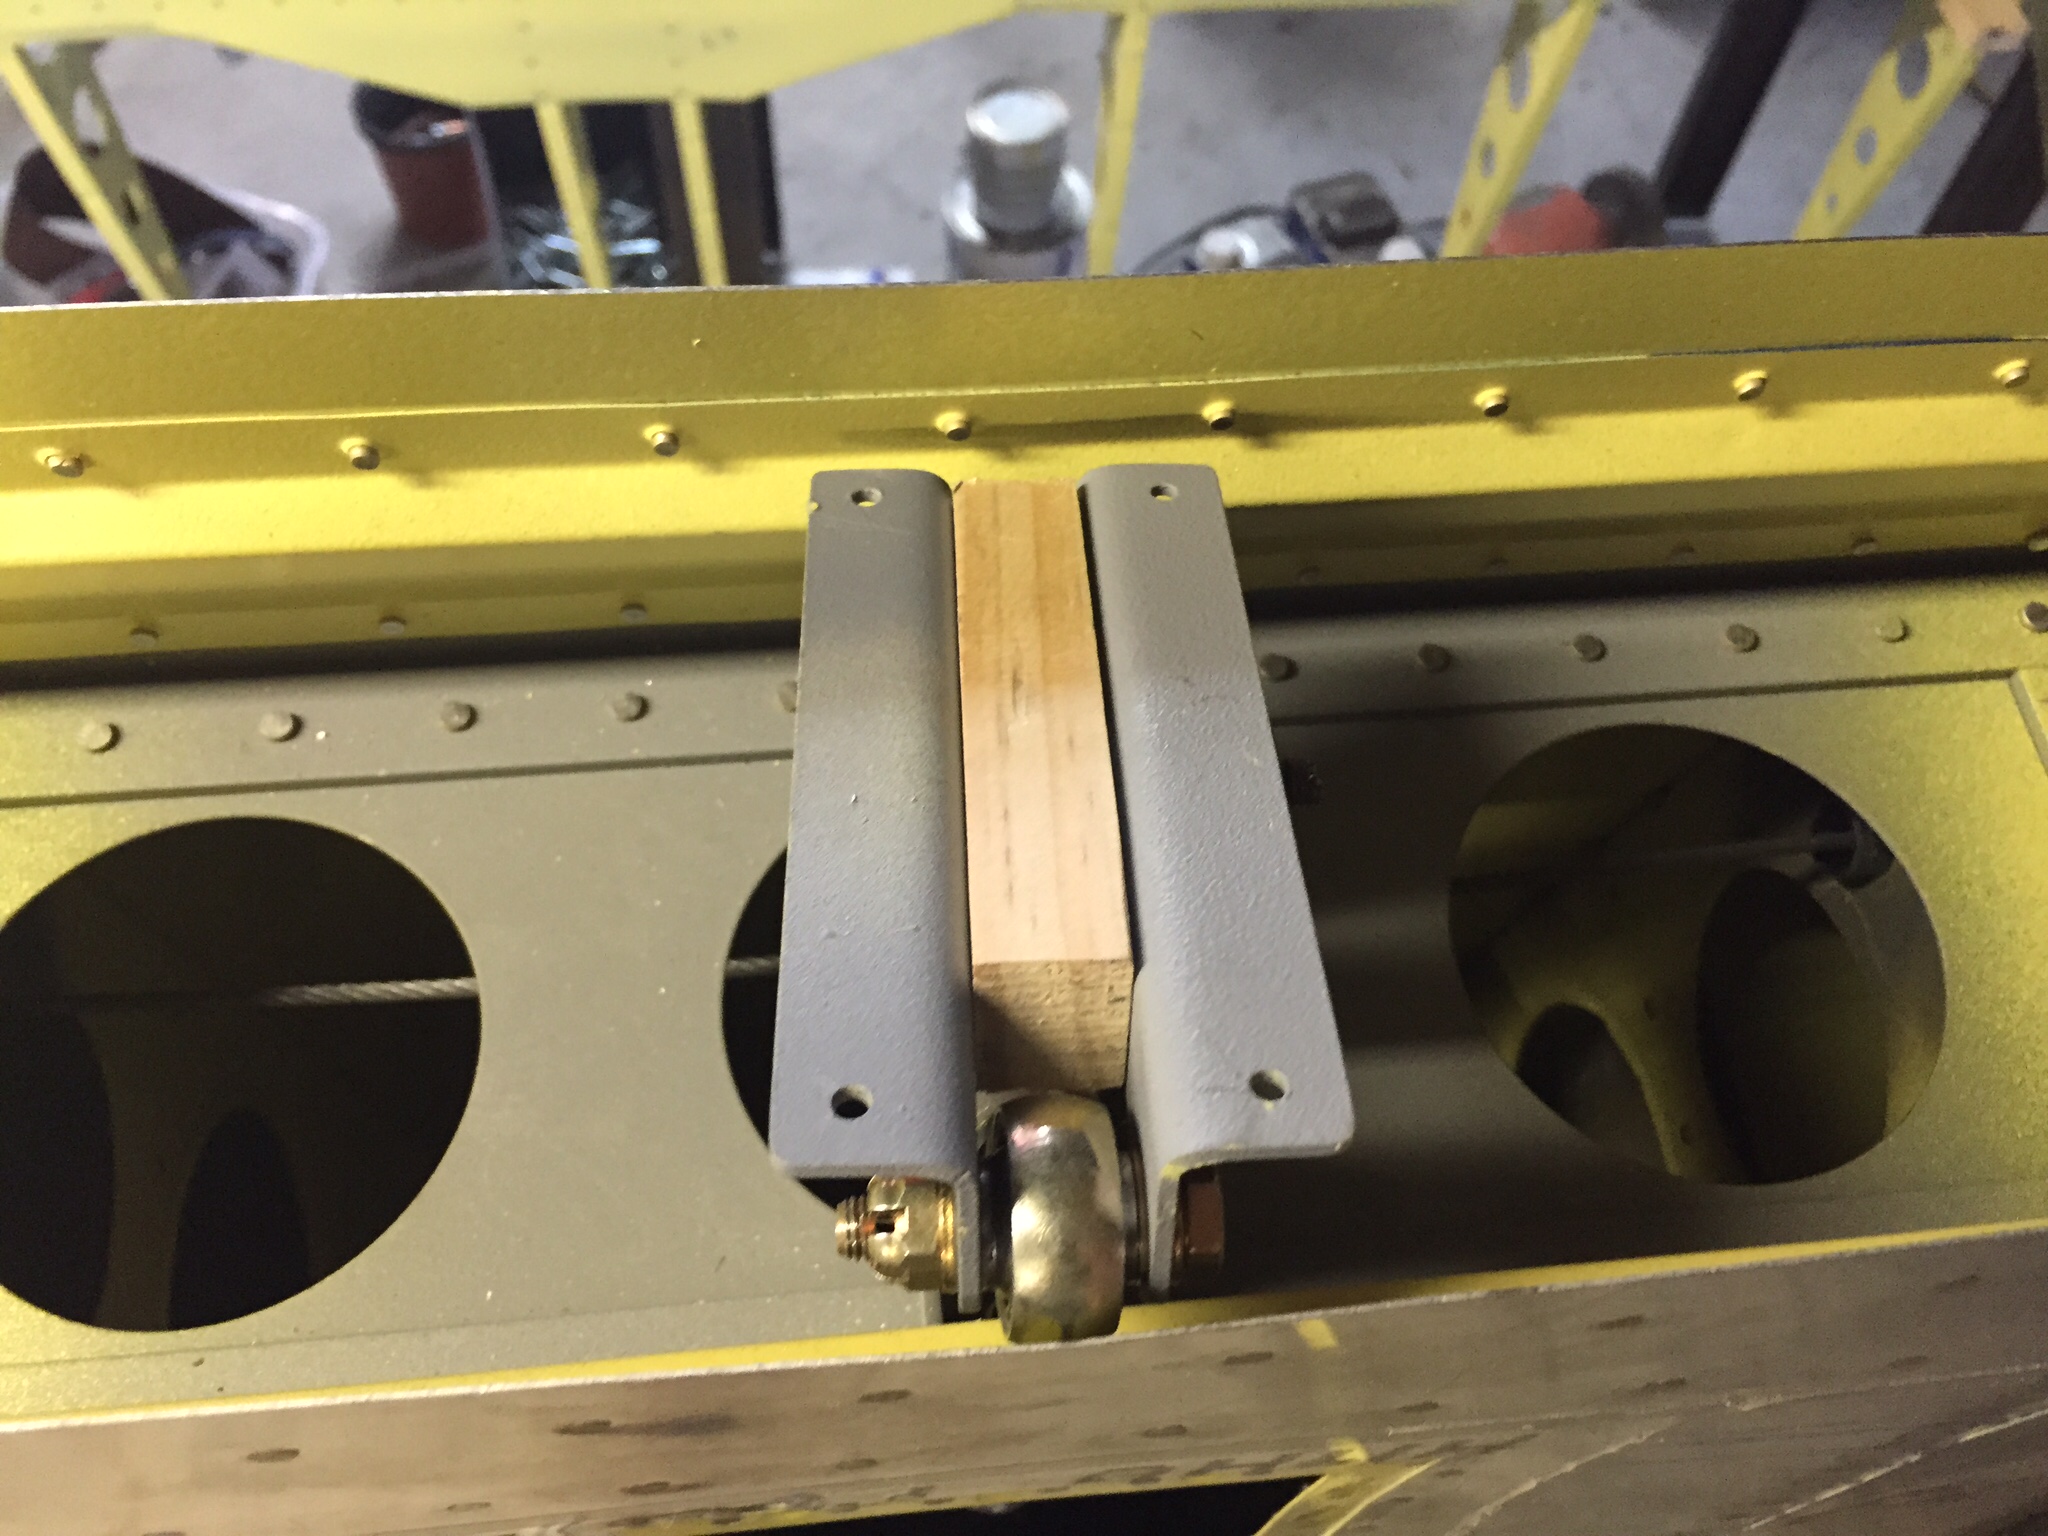
block clamped between the hinge pieces. the C clamp is hidden from view.
The long skins actually now became an asset, they kept the flap centered…similar to the simulated skin method of setting nose ribs. We figured how far off the spar the flaps need to come up to match with the 2 root back ribs and built a couple of spacer blocks that distance.
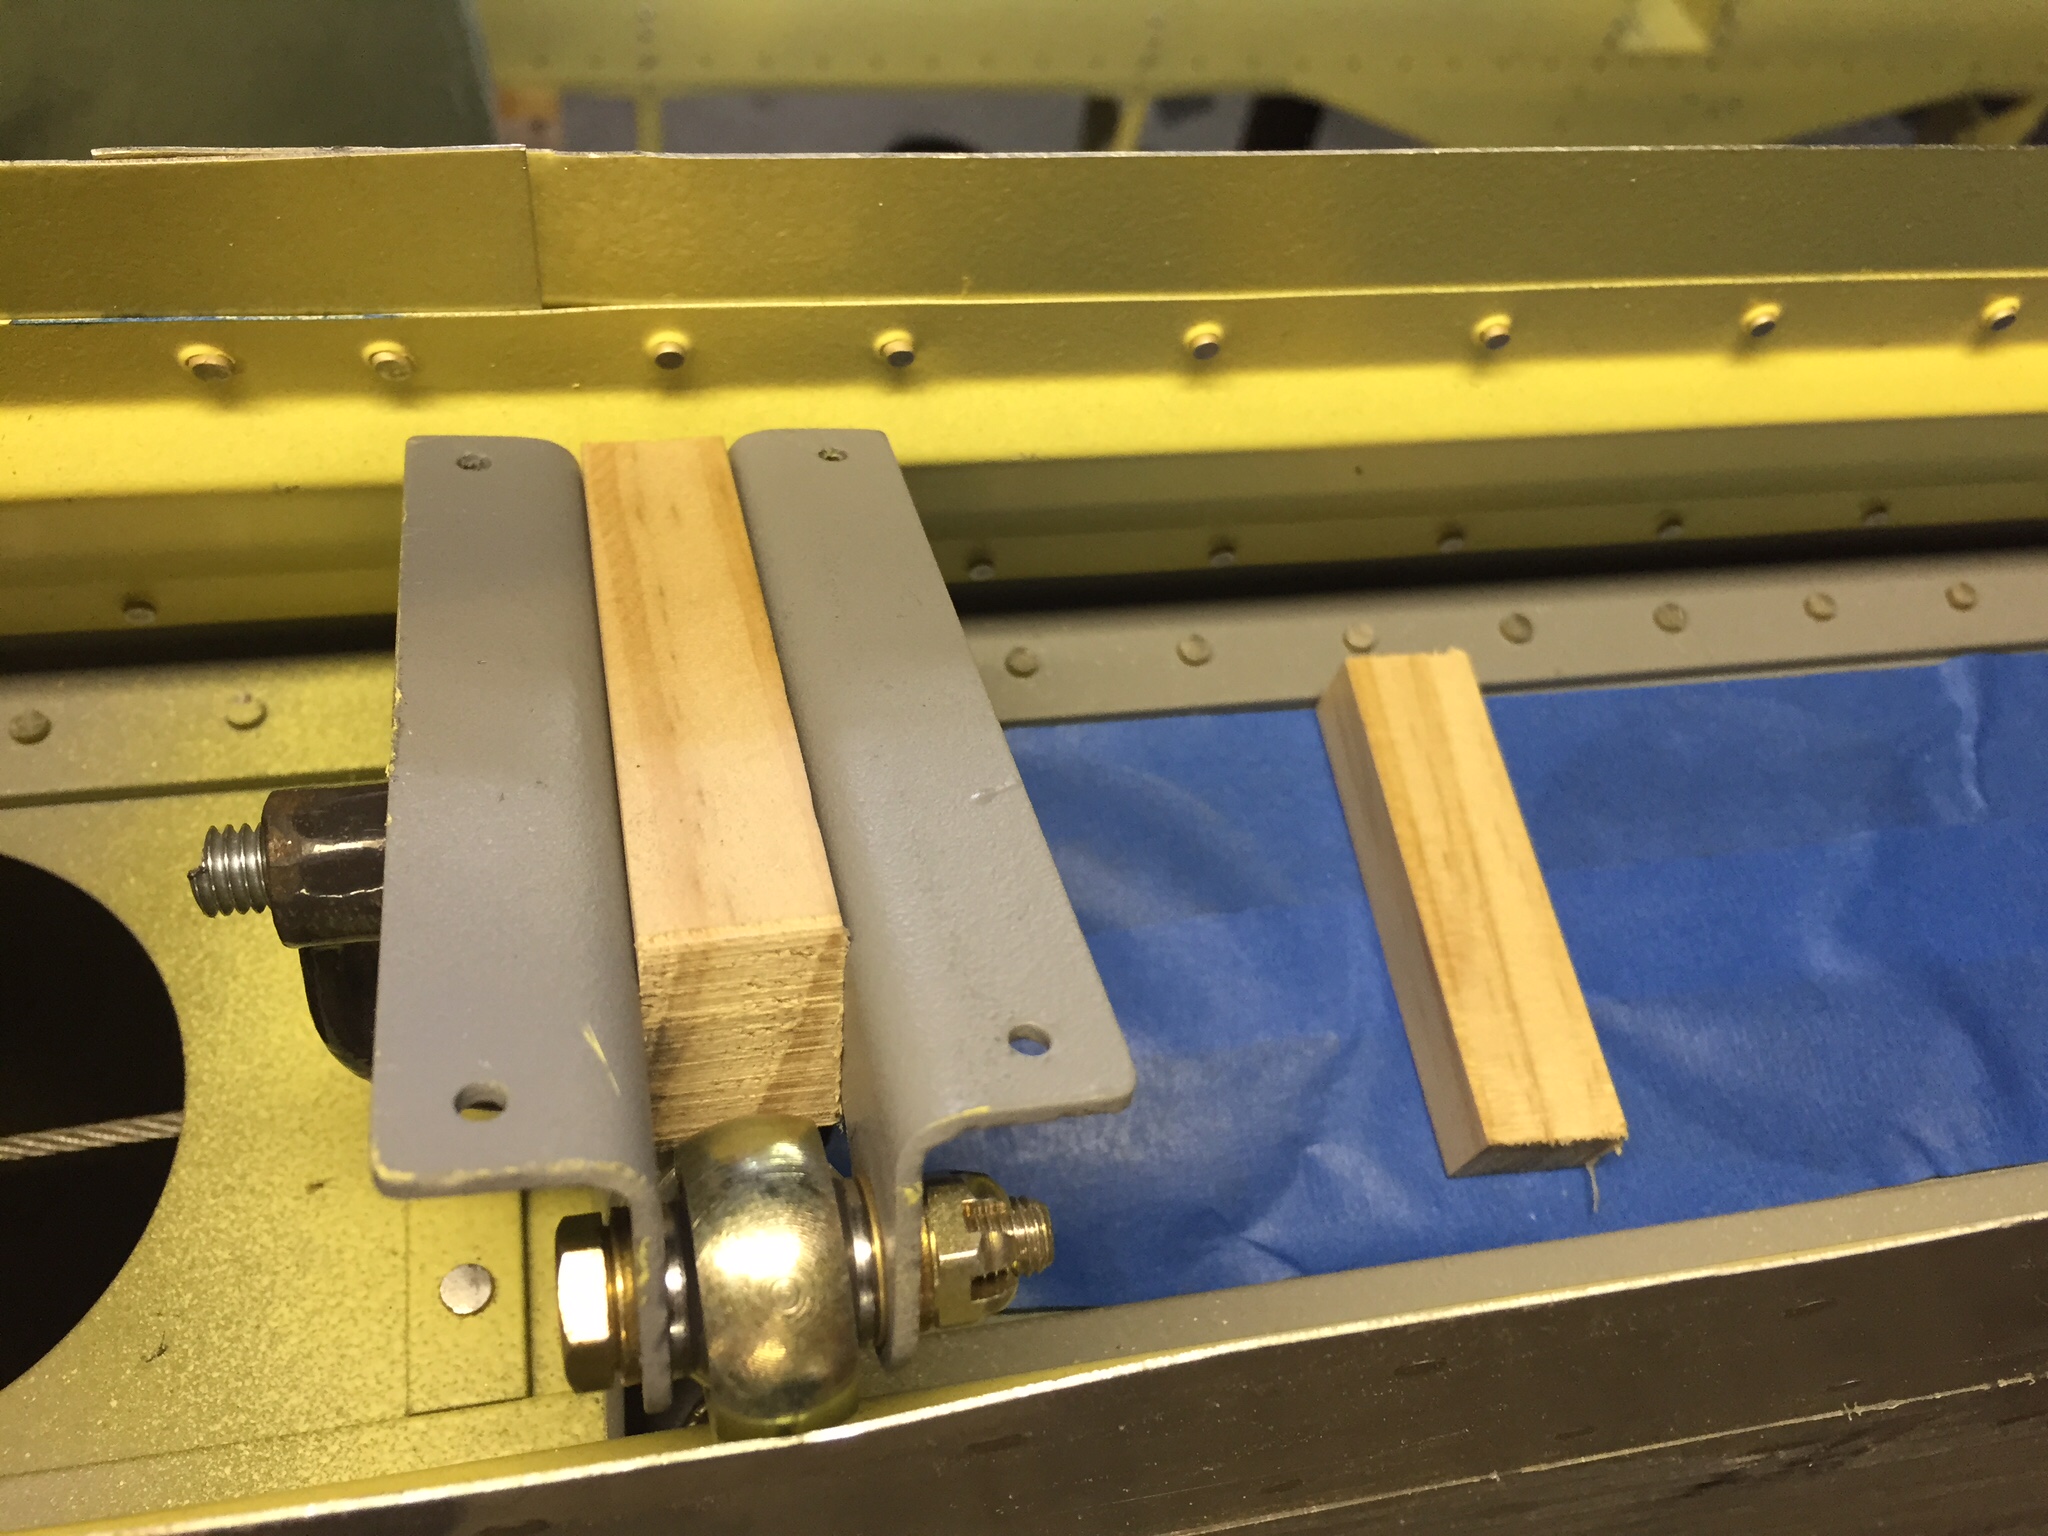
You can see the spacer block laying on the rear spar web. This kept the flap the right distance from the spar web.
With the flap sitting in the pocket, on the spacer blocks….lined up with the root back ribs, we lifted the heim until the hinge was flat against the flap and squared up in the pocket…..we used an ultra fine sharpie to mark the wood spacer block between the hinges through a couple of holes we drilled in the flap hinge area along the heim joint centerline we previously marked.
After marking the hinges, we took the hinges/heims our and drilled pilot holes through the wood block. We then set the heims back in and set the flap back on top. It was then just a matter of using a couple of drywall screws to attach the hinges via the spacer block from the backside of the hinge pocket. We used a long screwdriver to get in there.
We then gently removed the flap/heim/hinges and drilled the hinge to the flap through the 1/8 holes pre-drilled in the hinges. I drilled the 1/8 holes to plan but the lower holes are too close to the edge of the .060 backing plate. I would highly suggest you move the lower hinge holes up .25 from where they are specified on the plans. I drilled a second set of holes .25 up from my lower holes, but you can save yourself the hassle.
We also marked the lower skin on each end of the flap area for trimming. I used my track saw to make the cut then cleaned up the edge with my deburring disk.
Discussion
Comments are closed.