Managed to get the bottom skin laid out. Steve and I started by marking the rivet line down the bottom of the center ribs. Steve just eyeballed it, kinda like you see the guys that lay out pinstriping free hand. We then took 2 measurements to each rib centerline from the center rib located outboard of the main fuel tank bay, which will be the inboard edge of the bottom skin. We wrote these measurements in a sharpie right on the nose rib skin at each location. We took measurements at the top and bottom of the center rib.
We trimmed a piece of .025 to be 35 inches wide and 120 inches long, this gives us plenty of extra that will be trimmed later.
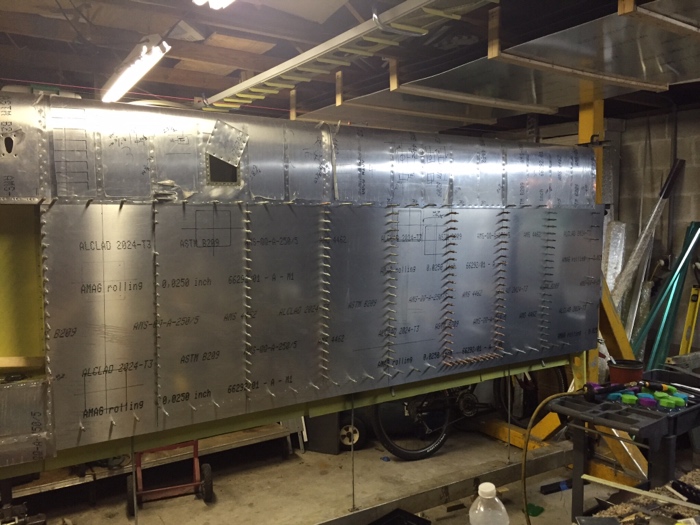
Marked a few lines down 1″ on the long edge. These will be used to line up with the bottom of the top wing sheet. We then slid the long bottom skin up between the spar flange and top skins. It worked well starting at the outboard end and working the skin up…..from outboard in. We aligned the inboard edge of the bottom skin with the edge of the center rib on the outboard side of the tank bay. We drilled a couple of holes through the spar flange and clecoed the sheet.
We then marked the bottom skin with the measurements from step 1. Each center rib got a mark at the top and bottom (or front and back….the wing is jigged vertical). I used a straight edge to connect the 2 marks….now we have drill lines.
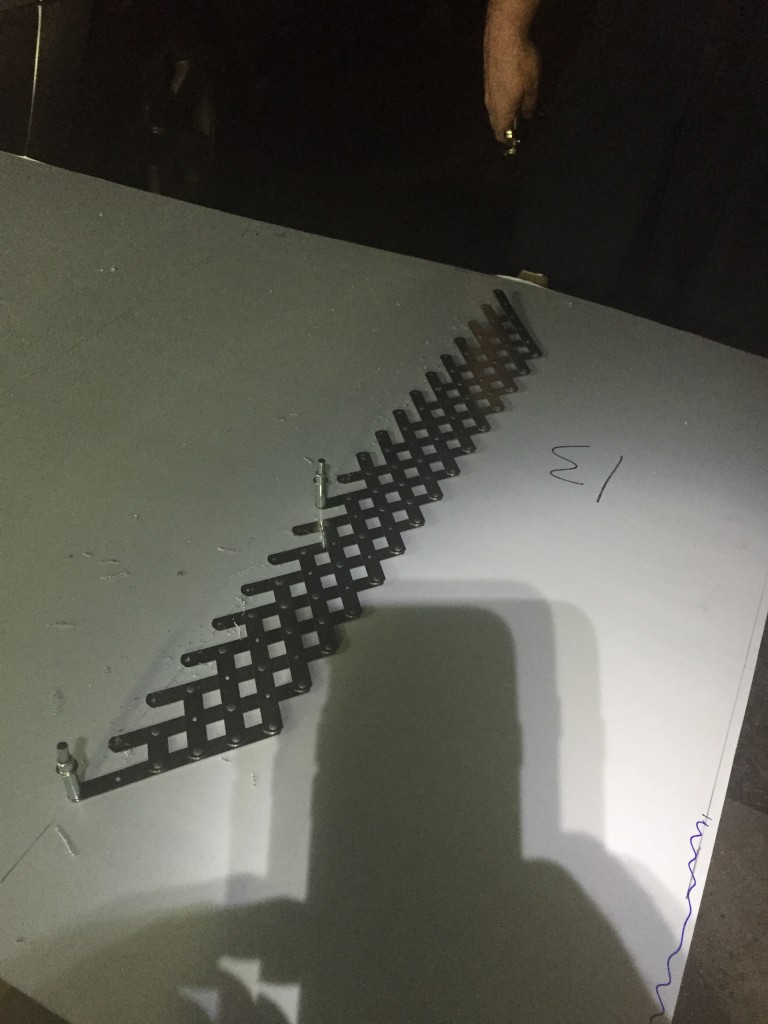
The sheet was removed and placed on a table for drilling. The top and bottom rivets holes were marked then drilled. Using a rivet fan between the holes we drilled all the holes, 1.5″ spacing. It took 2 people to manage the large bottom skin, moving it around and hanging it. I can see where it would be easy to drop or crease if you tried to do it solo.
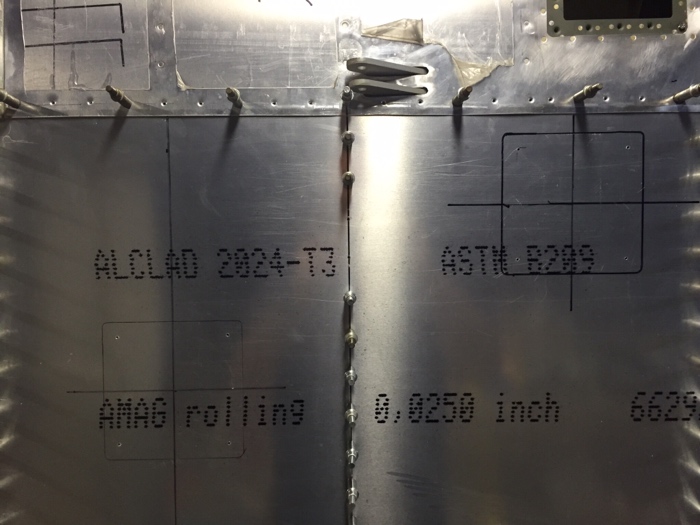
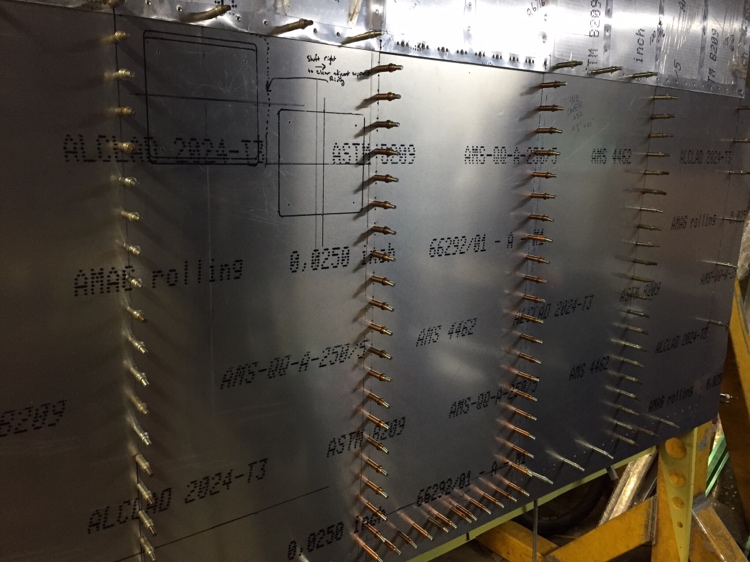
Starting in the center of the bottom skin, we drilled and clecoed the skin to the center rib…all the way down. We then worked outboard, drill the center of the rib and work up & down. This is done to allow the big skin to flow where it wants to go as you drill and cleco everything. With such a big piece of thin metal it is easy to get oil canning if you’re not careful. Similar to the nose rib drilling process, you have to move the center ribs a bit so the centerline marked in step 1 is visible through the holes. I used a long stick with a notch cut in it to go in through the lightening holes and grab the rib we were working on…..to be able to move it inboard/outboard while Steve drilled.
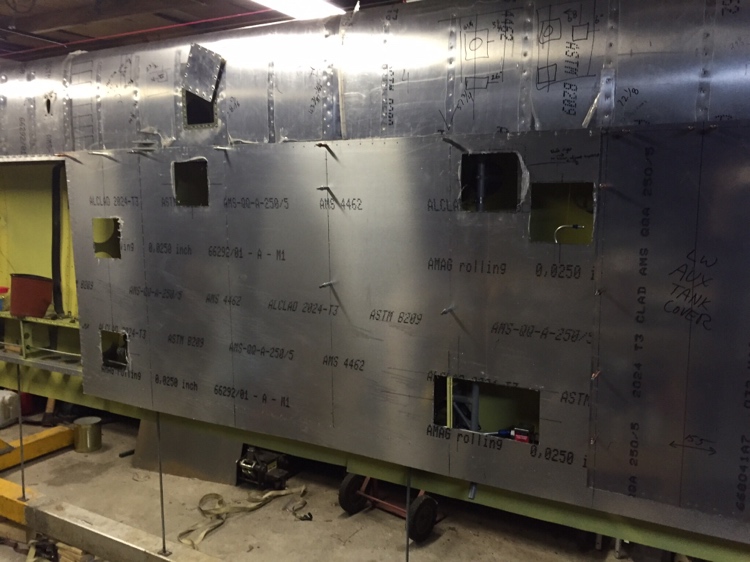
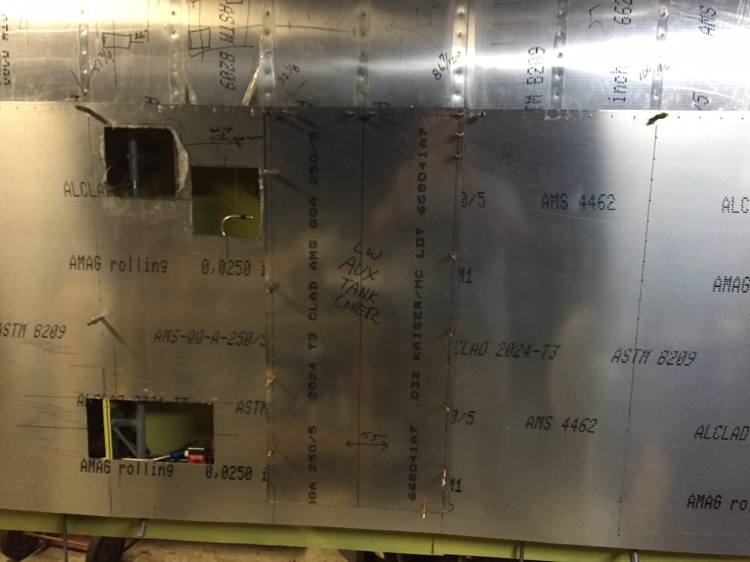
Once everything was drilled, I marked the center of each inspection hole based on earlier measurements…..written right on the nose rib skin above where it was located. this really made the layout easy. I then used a digital level to draw a horizontal and vertical centerline for each location. Using an actual inspection cover marked with centerlines, I just held it on the skin, aligned the marks and traced it on the skin. the hole over the bellcrank was recommended to be double sized, so i just did this twice at that location. I drilled out the corners of the inspection holes with a unibit then used a vibrating multi-tool with a bi-metal blade to rough cut the holes. I found if I held the tool blade at a 45 degree angle to the skin it cut well.
I opened up the holes on the Aux tank bay that were drilled at #40 to 7/64….which is what I use for the #6 nutplates.
Drilled all the holes through the skin at the main spar and rear spar. the rear spar i used my pneumatic 90 degree drill to back drill while laying on my back and into a small black of wood….to keep the skin tight.
The bottom skin was taken back off and I used a router and a previously made template to open up the holes I rough cut while the skin was hanging. The method is detailed in Wayne Massey’s kitlog very well. Link here: http://www.mykitlog.com/users/display_log.php?user=wlmassey&project=221&category=4092&log=65808&row=80
I cut the .032 aux tank cover and match drilled it to the skin after I had router out the holes in the bottom skin.
After the final router of the inspection holes I just hung the skin by a handful of clecos to check the layout. The hole over the aileron bell-crank is too far to the outboard, so I plan to make it 2.5 covers wide instead of 2x. I shifted the hole to the outboard 1″ beyond what I originally measured, not sure what I was thinking. I also managed to nick the fuel line that runs from the pump to the tank while drilling the corner holes where the inspection holes will be, so I will be replacing that.
Discussion
Comments are closed.