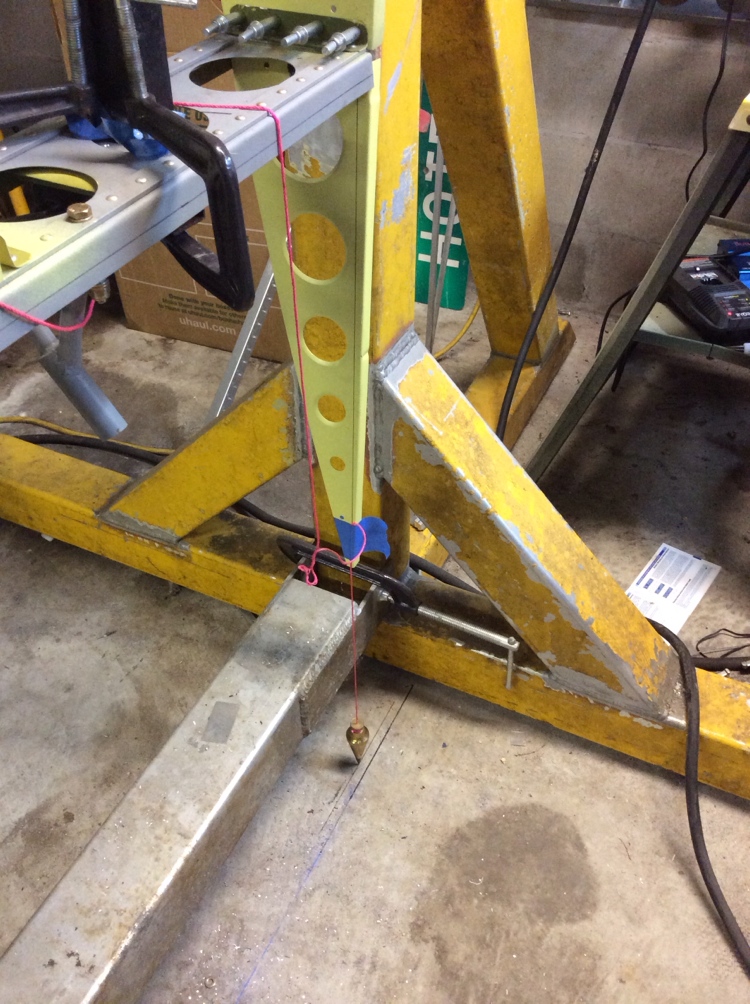
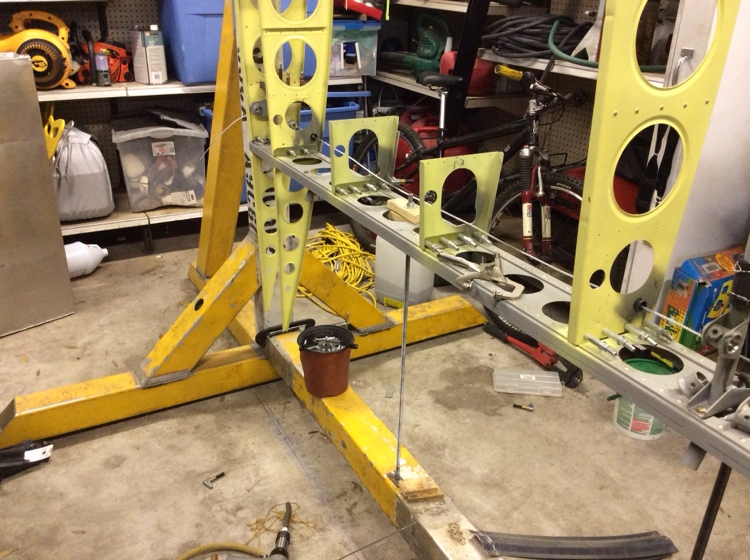
trying to wrap up some odds and ends and get ready to skin the left wing. I’ve been putting off the back ribs becuase it requires unclamping the tip end from the jig. It went pretty smooth. I used the method I read in several other builder’s blogs on how to get the back ribs lined up. I basically dropped a plumb bob of the rear spar on both ends and marked the floor. I snapped a chalk line between the marks. The rib centerline was then marked on the back ribs using the mylar rib template included in the plans. This distance was then marked on the floor. The rib was clamped in and a plumb bob hung from the centerline of the rib and lined up with the mark on the floor.

lining up the back ribs
once lined up the ribs were clamped, drilled, removed and deburred then riveted in.

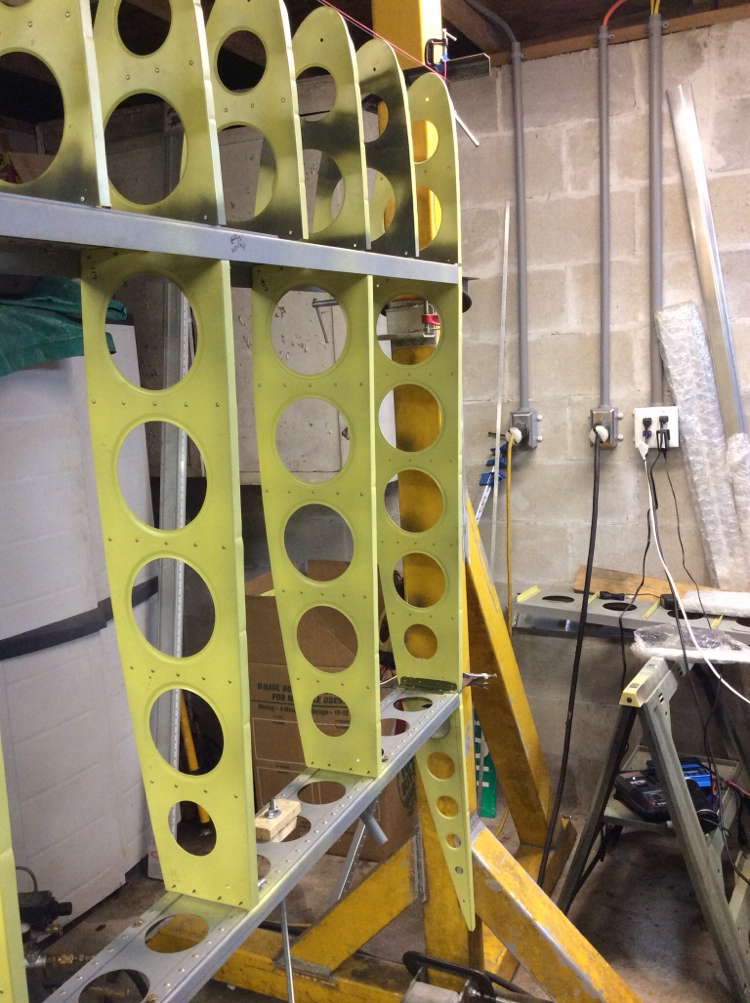
root end back ribs riveted in

tip end rib riveted in
tip rib consists of 3 ribs vs. the full size rib called out for in the plans. I purchased the kit spar web and rib package.
Discussion
Comments are closed.